
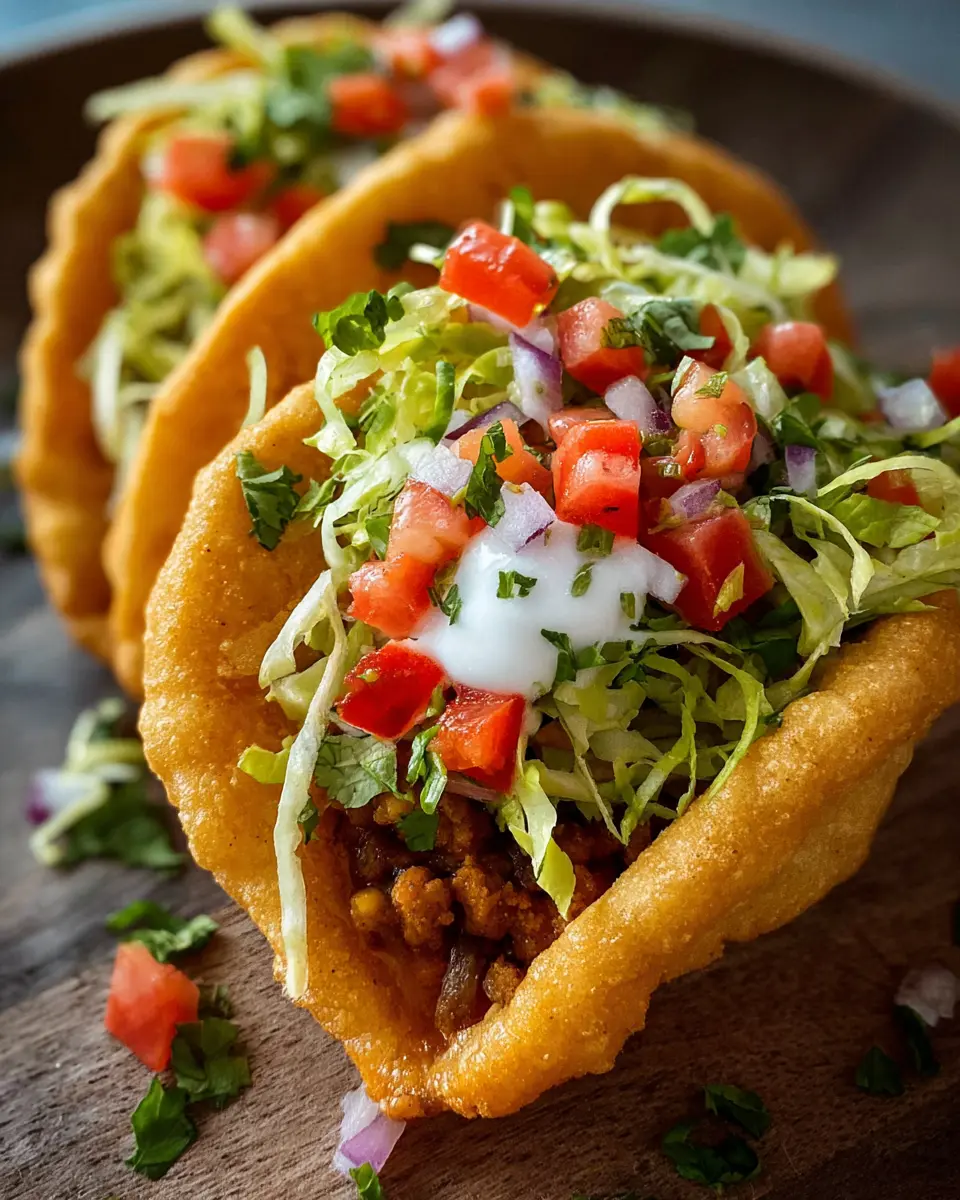
Introduction to Homemade Chalupas
If you're a young professional navigating a busy schedule, you know the importance of quick yet satisfying meals. Enter the homemade chalupa—a delightful Mexican treat that strikes the perfect balance between convenience and flavor. With a few staple ingredients and minimal cooking time, you can whip up these savory beauties right in your kitchen, saving both time and money compared to dining out.
One of the best parts? You can customize your chalupas to suit your taste. Love spicy food? Add jalapeños! Prefer it vegetarian? Load up on extra veggies. According to the American Heart Association, cooking at home not only helps you control your ingredients but also contributes to healthier eating habits. Imagine the joy of biting into a crispy chalupa filled with your favorite toppings after a long day!
Preparing your own chalupas can also be a fun way to reconnect with friends. Why not host a taco night, where everyone assembles their own? It’s interactive, delicious, and the perfect way to unwind on the weekend. So grab your apron, and let's dive into making your very own homemade chalupas!
Ingredients for Homemade Chalupas
When it comes to crafting the perfect homemade chalupa, selecting the right ingredients is essential. Here’s what you need:
Essential ingredients for a perfect chalupa
- 3 cups all-purpose flour: This forms the base of your chalupa, giving it that delightful texture.
- 1.5 tablespoon baking powder: Helps the dough rise, providing a more airy shell.
- 1 teaspoon salt: Enhances the flavors of your ingredients.
- 2 tablespoon melted butter: For richness and a hint of flavor.
- 1 ¼ cup full-fat milk: Keeps the dough moist and helps create a soft shell.
- Oil for frying: Canola or vegetable oil will work best for frying those shells.
- 2 cups black beans: A hearty filling that adds both protein and flavor.
Optional toppings for extra flavor
Personalize your chalupa with delicious toppings! Consider adding:
- Chopped lettuce and tomatoes: For that refreshing crunch.
- ¾ cup sour cream: Provides a creamy, tangy finish.
- ¾ cup queso sauce: Because you can never go wrong with cheese.
- ¾ cup cheese (like pepper jack): Add a kick with some spicy cheese.
Experimenting with these toppings can elevate your homemade chalupa experience. Want more inspiration? Check out this guide on taco toppings. Happy cooking!
Preparing Homemade Chalupas
Creating delicious homemade chalupas is a fun way to explore Mexican cuisine right in your kitchen. Follow these straightforward steps to make your own crispy chalupa shells, perfect for filling with a variety of toppings.
Gather and prepare the ingredients
Start by collecting all the ingredients you'll need for your chalupas. Here’s what you should have on hand:
- 3 cups all-purpose flour
- 1.5 tablespoon baking powder
- 1 teaspoon salt
- 2 tablespoon melted butter
- 1 ¼ cup full-fat milk
- Oil for frying
- 2 cups black beans
- 2 cups chopped lettuce
- 1 cup chopped tomatoes
- ¾ cup sour cream
- ¾ cup queso sauce
- ¾ cup cheese (like pepper jack)
Having everything ready not only makes the cooking process smoother but also ensures that you can enjoy every step without interruptions.
Make the chalupa dough
To kick off your homemade chalupa adventure, mix the flour, baking powder, salt, and melted butter in a large bowl. The key here is to blend them thoroughly, creating a well-combined mixture. Slowly add the milk to this mixture. You want a soft, pliable dough to work with. Once your dough is mixed, gently knead it on a floured surface for a minute or two until it's smooth. Cover the dough with a cloth and let it rest for about 15-20 minutes—this step makes it easier to roll out later.
Roll out and shape the chalupa shells
Now that your dough has rested, divide it into 15 equal portions. Roll each piece into a circle about 5 inches wide. As you’re doing this, don’t forget to prick each shell with a fork. This helps prevent them from puffing up while frying, leading to the perfect crispy texture.
Fry the chalupa shells to golden perfection
Heat some oil in a frying pan over medium heat. Carefully fry each shell for about two minutes, flipping them halfway. You’re aiming for a beautiful golden brown! Once they're fried, drain the shells on paper towels—this will remove any excess oil, keeping them crispy and less greasy.
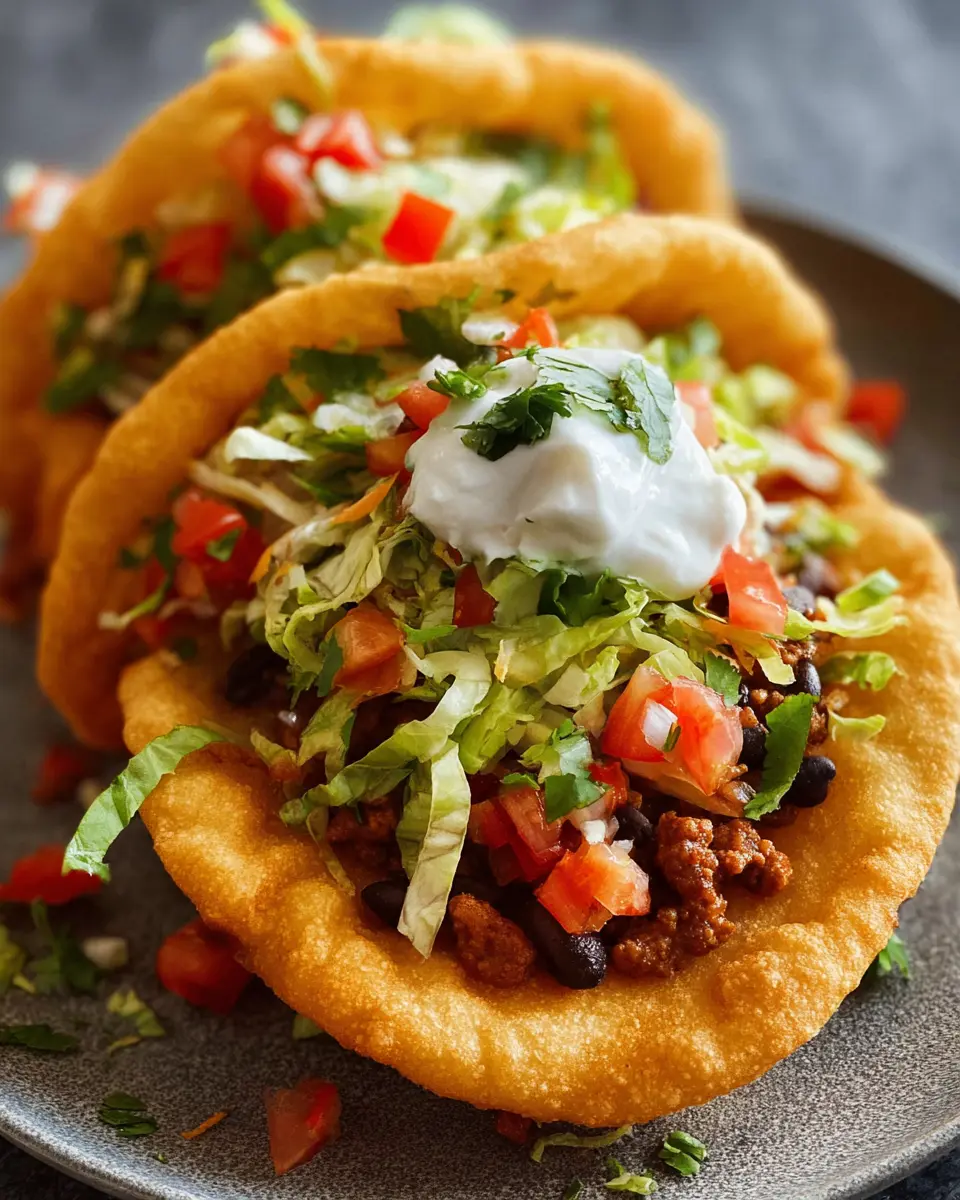
Assemble your homemade chalupas
Now comes the fun part! Fill each chalupa shell with your preferred toppings. Start with a layer of black beans, then add a spoonful of sour cream and queso sauce. Top it off with fresh lettuce, juicy tomatoes, and sprinkle cheese on the top. The combination of flavors and textures is guaranteed to delight your taste buds!
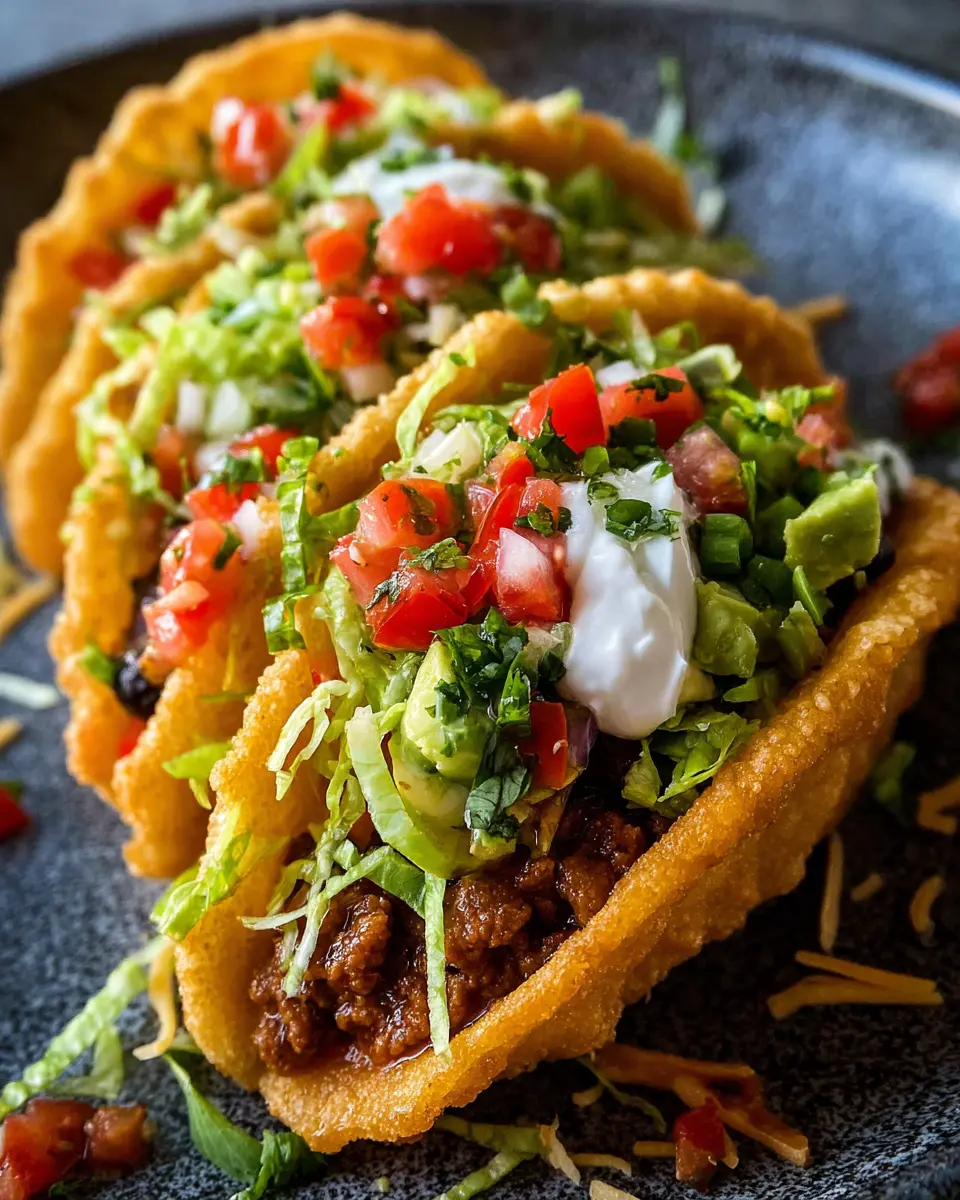
It’s not just a meal; it’s an experience sharing homemade chalupas with friends or family. Explore variations by experimenting with ingredients, like adding avocado or swapping black beans for seasoned ground beef. Enjoy your culinary journey!
Variations on Homemade Chalupas
Vegetarian Chalupas
For a delightful vegetarian twist on your homemade chalupa, simply swap in your favorite veggies and plant-based proteins. Try using sautéed bell peppers, corn, and black beans as your base, and don’t forget to top it all off with creamy avocado slices or a zesty pico de gallo. This version is both hearty and satisfying, making it an excellent option for Meatless Mondays or for guests who prefer a lighter meal.
Spicy Chalupas with Turkey Bacon and Chicken Ham
If you're a fan of spice, these homemade chalupas can pack a punch! Start with a base of spicy turkey bacon and chopped chicken ham for a flavorful combo. Add jalapeños or a dash of your favorite hot sauce to elevate the heat. This variation is perfect for those who crave a bit of excitement in their meals, balancing the heat with creamy toppings like sour cream or queso sauce.
Experiment with these variations to discover your favorite flavor combinations, and don't hesitate to share your creations with friends! For more delicious ideas, check out this vegetarian cooking guide or explore some spicy recipes here.
Cooking tips and notes for Homemade Chalupas
Tips for perfect frying
To achieve the ideal homemade chalupa, ensure your oil is hot enough—around 350°F—to achieve that perfect golden brown. Fry one shell at a time, carefully flipping halfway through for even cooking. If your chalupas are browning too quickly, lower the heat slightly. Remember, practice makes perfect!
Storing leftover chalupas
If you have leftover chalupas, store them in an airtight container in the fridge for up to 2 days. To keep the shells crispy, store them separately from the fillings. When ready to enjoy, simply reheat the shells in a hot frying pan or oven for a few minutes. For additional tips on reusing your homemade ingredients, check out this helpful guide.
Serving Suggestions for Homemade Chalupas
When it comes to enjoying your homemade chalupa, side dishes and beverages can elevate the meal experience. Consider serving your chalupas with:
-
Refreshing Sides: A zesty corn salad or a classic guacamole adds a perfect balance to the crunchy chalupa. You can also whip up some Mexican street corn for that delightful twist.
-
Drink Pairings: To complement your chalupas, opt for a refreshing iced tea, infused with citrus for a bright, tangy flavor. Alternatively, a sparkling water with lime or a fruity mocktail will cleanse the palate and enhance each bite. Looking for something more festive? Check out our guide to refreshing non-alcoholic drinks for more ideas!
Experimenting with these suggestions will surely impress your guests and make your homemade chalupas the star of the meal!
Time Breakdown for Homemade Chalupas
Preparation Time
Cooking up a delicious batch of homemade chalupas takes about 20 minutes in preparation. This includes mixing the dough and letting it rest for that perfect texture.
Cooking Time
Once your chalupa shells are ready, frying them will take approximately 15 minutes. You'll get that golden-brown crispy goodness in no time!
Total Time
In total, you’re looking at a complete time of about 35 minutes from prep to plate. That's a perfect timeframe for a quick weeknight dinner or a fun weekend treat. Enjoy your tasty creations!
Nutritional facts for Homemade Chalupas
When you're enjoying a homemade chalupa, it’s good to know what you're eating! Each chalupa contains approximately 330 calories. Packed with flavors and nutrients, they offer a satisfying balance of protein and fiber, making them a hearty meal option.
Calories per chalupa
- Calories: 330
- Protein: 10g
- Fat: 18g (Saturated Fat: 7g)
Nutritional breakdown
A single chalupa is not only delicious but also deliciously nutritious:
- Carbohydrates: 34g
- Fiber: 6g
- Sugar: 2g
- Sodium: 480mg
- Cholesterol: 20mg
Knowing these facts can help you enjoy your meal without sacrificing your health. For more in-depth guidelines, check resources like the U.S. Department of Agriculture’s FoodData Central, where you can explore detailed nutritional information for homemade recipes.
FAQs about Homemade Chalupas
Can I make chalupas ahead of time?
Absolutely! You can prepare the dough and shape the chalupa shells in advance. Just place the uncooked shells in an airtight container in the fridge for up to 24 hours. When you’re ready to fry them, they’ll be just as delicious and fresh!
What’s the best way to reheat chalupas?
To reheat your homemade chalupa, it's best to use an oven. Preheat it to 350°F (175°C) and place the chalupas on a baking sheet for about 10 minutes, or until heated through. This method helps maintain the crispiness of the shells.
Are homemade chalupas healthier than fast food options?
Yes, homemade chalupas can be much healthier! You control the ingredients, so you can use fresh veggies, reduced-fat dairy, and lean proteins. For instance, using black beans adds fiber and protein without the extra calories often found in fast-food versions. Plus, with less sodium and no preservatives, you can enjoy a healthier version that satisfies both your taste buds and well-being.
Conclusion on Homemade Chalupas
Making homemade chalupas is not just a cooking project; it’s an experience packed with flavor and enjoyment. Why not gather friends or family today and whip up a batch? You'll savor the fresh taste and feel the satisfaction of creating something delicious from scratch.
Why You Should Try Making Homemade Chalupas Today
If you’ve ever craved a crunchy, flavorful meal that’s easy to customize, homemade chalupas are your answer. Here are some reasons to dive into this tasty adventure:
- Fresh Ingredients: Using fresh vegetables and toppings lets you control flavors and nutrition.
- Creative Freedom: Whether you prefer vegetarian versions or loaded with protein, you can tailor each chalupa to your liking.
- Fun Activity: Cooking together can be a great bonding experience, perfect for a weekend gathering or casual dinner.
Don’t forget—you can explore variations by trying different proteins, like turkey bacon or chicken ham, and experimenting with sauces and spices. For additional inspiration, check out Serious Eats or Food Network for tips on enhancing your chalupa experience. So why not make today the day you bring this delightful dish into your kitchen?
Homemade Chalupa
Equipment
- Mixing bowl
- frying pan
Ingredients
Dough Ingredients
- 3 cups all-purpose flour
- 1.5 tablespoon baking powder
- 1 teaspoon salt
- 2 tablespoon melted butter
- 1.25 cups full-fat milk
- Oil for frying
Filling Ingredients
- 2 cups black beans
- 2 cups chopped lettuce
- 1 cup chopped tomatoes
- 0.75 cup sour cream
- 0.75 cup queso sauce
- 0.75 cup cheese (e.g., pepper jack)
Instructions
Preparation Steps
- In a mixing bowl, combine flour, baking powder, salt, and melted butter until well mixed. Gradually add milk until a soft dough forms; knead gently until smooth.
- Cover the dough and let it rest for 15-20 minutes. Divide into 15 equal balls and roll each into a circle about 5 inches wide. Prick with a fork.
- Heat oil in a frying pan over medium heat. Fry each shell for about two minutes, flipping halfway until golden brown.
- Once drained on paper towels, fill each shell with black beans, sour cream, queso sauce, lettuce, tomatoes, and cheese.


Leave a Reply