
Introduction to Homemade Bagels
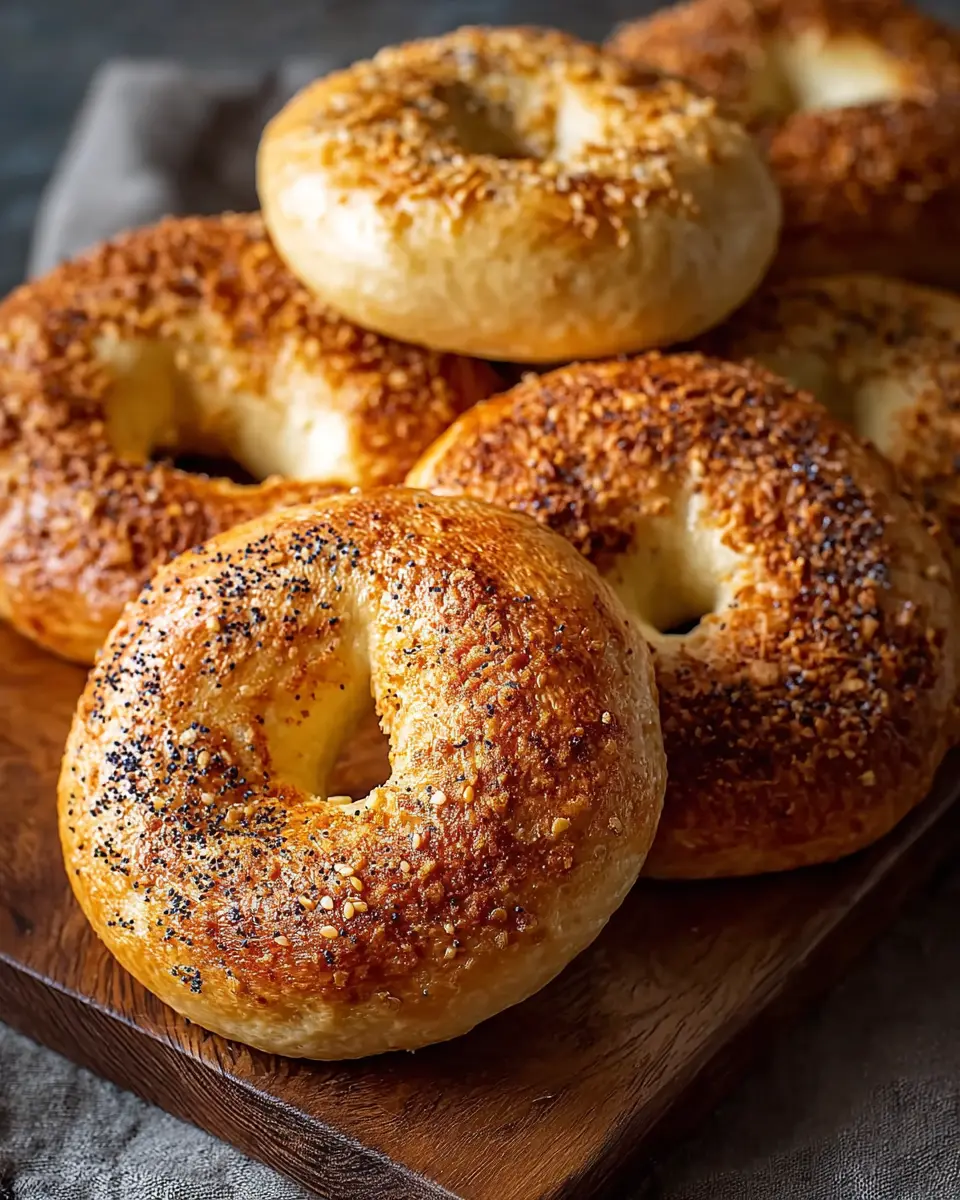
Making your own homemade bagels can seem daunting, but the reward is undeniably worth the effort. Imagine pulling a fresh, chewy, perfectly browned bagel from your oven—nothing compares! The satisfying taste of your own creation, combined with the wonderful aromas wafting through your kitchen, will have you hooked from the first bite.
Why are homemade bagels so special? For starters, you control the ingredients. You can choose organic flour, adjust the sweetness with natural sweeteners, or even explore unique flavorings. Plus, the joy of shaping each bagel adds a personal touch, letting your creativity shine. According to studies like this one from the Institute of Food Technologists, the act of cooking can be therapeutic, fostering a sense of accomplishment and connection to your meals.
Not to mention the savings—fresh bagels from bakeries can add up quickly, especially if you indulge regularly. By making your own, you can enjoy delicious, bagel shop-quality treats at home without breaking the bank. So, roll up your sleeves and let’s dive into the delightful world of homemade bagels!
Ingredients for Homemade Bagels
Essential Ingredients for the Dough
To kick off your homemade bagels, you’ll need a few key ingredients to create the perfect dough. Begin with 1 cup of warm water, which is essential for activating the dry active yeast. Next, add 2 tablespoons of barley malt syrup for a touch of sweetness and enhanced browning. The real star here is 2 teaspoons of dry active yeast—just ensure it’s fresh for that ideal rise! You’ll also want 4 cups of unbleached bread flour, as this gives your bagels the necessary structure and chew. Finally, don’t forget 2 teaspoons of coarse kosher salt to elevate the flavor.
Poaching Liquid Components
The bagels’ classic chewy texture comes from the poaching liquid. For this, you’ll need 4 quarts of water, 2 tablespoons of barley malt syrup (yes, it appears again for added flavor depth), 2 tablespoons of baking soda to increase water alkalinity, and 2 teaspoons of coarse kosher salt for that extra infusion of taste while boiling.
Finishing Touches and Toppings
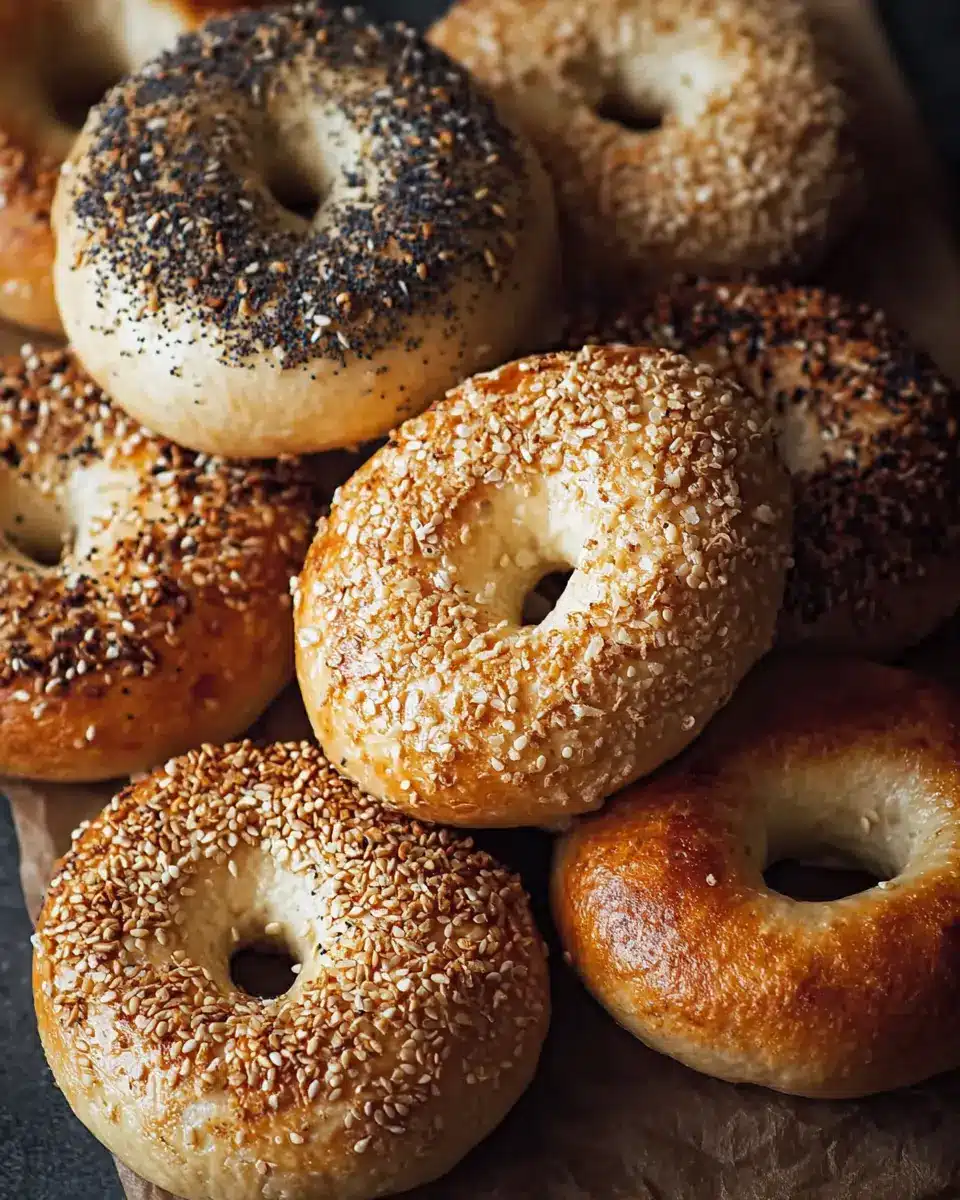
Time to give your bagels a professional touch! A simple egg white wash will provide a beautiful, glossy finish. As for toppings, feel free to get creative with an everything seasoning mix, poppy seeds, sesame seeds, or your personal favorite. Remember, this is your chance to make each bagel unique!
Preparing Homemade Bagels
Making homemade bagels is not just about the final product; it’s an enjoyable process that fills your kitchen with irresistible aromas. Let's walk through each step to create this delightful treat, ensuring that you get perfectly chewy bagels every time.
Step 1: Activate the yeast
The first step is crucial for creating that fluffy texture we love in bagels. In a small bowl, whisk together 1 cup of warm water, 2 tablespoons of barley malt syrup, and 2 teaspoons of dry active yeast. Let this mixture sit for about 8-10 minutes. You'll know it's ready when it becomes cloudy, fragrant, and foamy. This foaming action indicates that your yeast is alive and kicking!
Step 2: Mix and knead the dough
In the bowl of your stand mixer fitted with a dough hook, combine 4 cups of unbleached bread flour and 2 teaspoons of coarse kosher salt. Stir until well blended. Once your yeast mixture is bubbly, add it to the flour mix. Begin mixing the dough at the lowest speed for 3 minutes, then let it rest for 5 minutes. Afterward, knead for an additional 3 minutes until the dough feels stiff yet supple, resembling a nice elastic ball. For detailed kneading techniques, check out resources from King Arthur Baking.
Step 3: Shape the bagels
Now the fun begins! Divide your dough into 8 equal pieces, about 4 ounces each. Form each piece into a loose ball, flatten it slightly, and use your finger to poke a hole through the center. Gently stretch this hole until it measures about 2 inches in diameter. This unique shape is what makes bagels distinctive!
Step 4: Chill the bagels overnight
Arrange your shaped bagels on a greased parchment-lined sheet pan, mist them lightly with oil or cooking spray, and cover with plastic wrap. The key here is to let them chill in the fridge overnight. This step not only develops flavor but also prepares the dough for the next phases.
Step 5: Prepare the poaching liquid
The next morning, it's time to prepare the poaching liquid that gives bagels their signature chewy crust. In a large pot, bring 4 quarts of water to a boil, then reduce it to a simmer. Stir in 2 tablespoons of barley malt syrup, 2 tablespoons of baking soda, and 2 teaspoons of coarse kosher salt. This combination is vital for achieving that golden-brown hue.
Step 6: Boil the bagels
Before boiling, test the chill bagels' readiness. Place one in a bowl of cold water—if it floats, you’re good to go! Carefully drop the floating bagels into the simmering poaching liquid using a slotted spoon. Boil each bagel for about one minute on each side, then set them domed side up on a lightly oiled tray. This process not only firms up the dough but enhances flavor.
Step 7: Bake to perfection
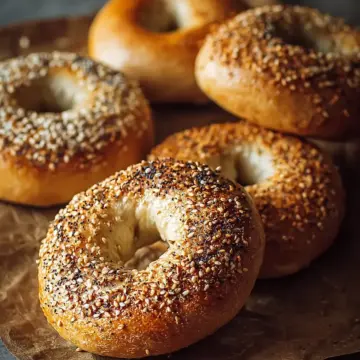
Finally, it’s time to bake your homemade bagels. Preheat your oven to 450°F and place your tray in. Bake for 8 minutes, rotate the pan, and bake for another 8-10 minutes until they turn a glorious golden brown. Once out of the oven, allow them to cool on a wire rack and savor the moment. Whether you’re topping them with cream cheese, turkey bacon, or anything else, these bagels are sure to impress!
Now that you've mastered making homemade bagels, you might want to explore variations by adding toppings like sesame seeds or everything seasoning mix. Enjoy the delightful experience of crafting your own bagels!
Variations on Homemade Bagels
When it comes to homemade bagels, the fun really begins with exploring different flavors and toppings!
Flavor Variations
Consider adding ingredients like dried onions, cheese, or everything spice blend directly into your dough for a flavor boost. A bit of garlic powder or even some fresh herbs can transform a simple bagel into an extraordinary treat. Try mixing in your favorite shredded cheese for a delicious, cheesy experience!
Topping Options
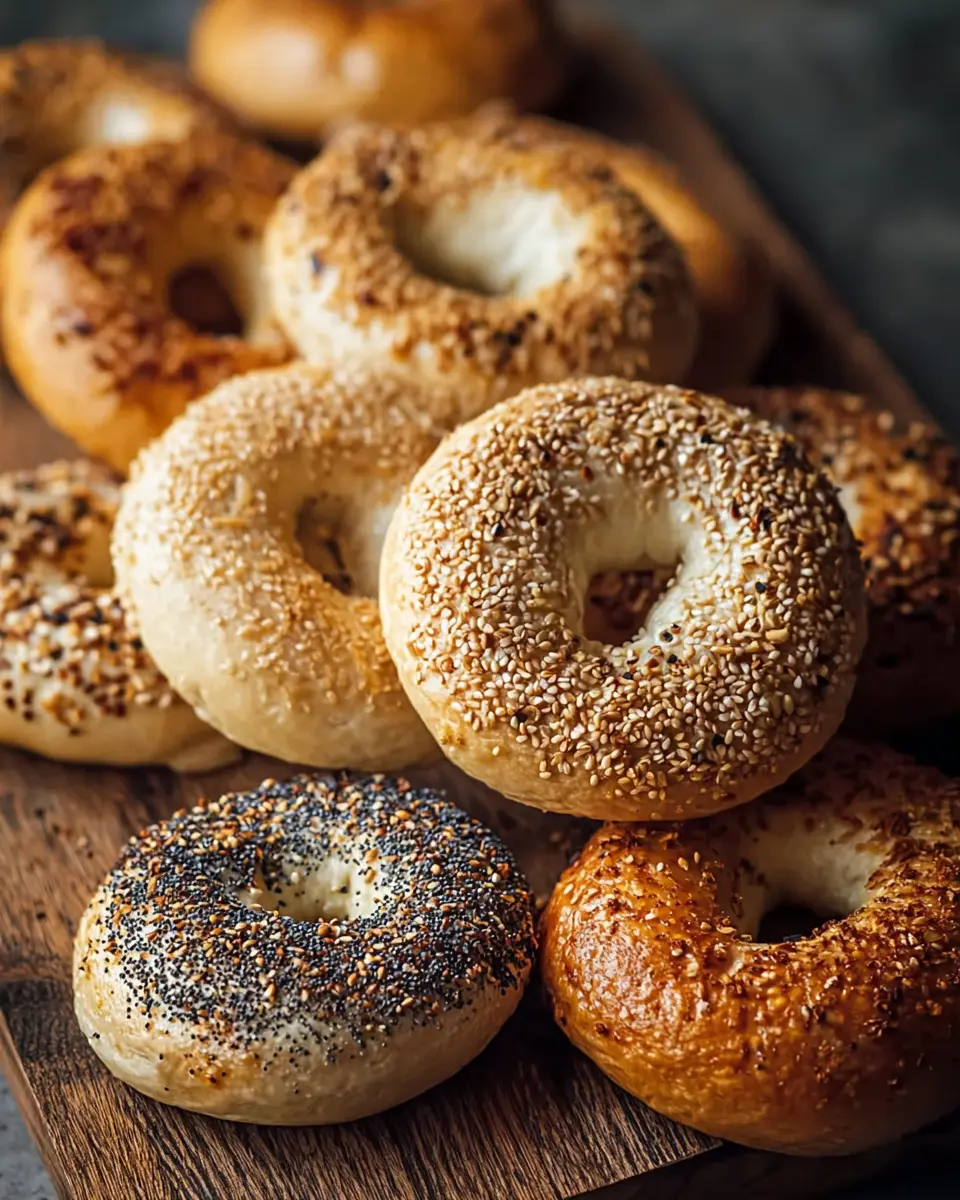
Don’t forget about the toppings! From everything seasoning to poppy seeds and sesame seeds, there’s a world of creativity to explore. A sprinkle of coarse salt or even a drizzle of garlic-infused olive oil can elevate your bagel game to new heights.
Experimenting with these variations not only enhances your bagels' appeal but also makes each batch a unique culinary adventure! For even more ideas, check out this comprehensive guide to bagel types for inspiration.
Cooking Notes for Homemade Bagels
Tips for a Successful Rise
To achieve the perfect rise for your homemade bagels, make sure your water is warm, but not scalding. This helps awaken the dry yeast. Always give the yeast a few minutes to bubble; if it doesn’t, your bagels may not have that delightful chewiness you crave. For optimal results, allow the dough to rise in a warm spot, free from drafts.
Best Practices for Boiling and Baking
Boiling your bagels is essential for that characteristic crust. Ensure your poaching liquid is simmering, not boiling vigorously, as gentle cooking allows the bagels to swell without breaking apart. After boiling, bake until they’re golden brown for a perfect finish. For a shiny crust, don’t forget the egg white wash! You can find more tips on bagel-making at King Arthur Baking.
Enjoy the process, and let your homemade bagels be a delightful weekend project!
Serving Suggestions for Homemade Bagels
Creative Spreads and Fillings
Transform your homemade bagels into a culinary delight with an array of spreads. For a classic option, try a herb-infused cream cheese. If you’re feeling adventurous, whip up a roasted red pepper and feta spread or even a zesty avocado smash. Don’t overlook the delightful potential of peanut butter paired with banana slices for a sweet twist! For a savory touch, consider a turkey bacon slice or chicken ham nestled within your bagel for a protein-packed addition.
Pairing Ideas for Breakfast or Brunch
When it comes to pairing, the options are endless! Serve your homemade bagels alongside fresh fruits like berries or melons for a refreshing contrast. A side of scrambled eggs or an egg-and-cheese sandwich always hits the spot. For a brunch gathering, consider a simple salad with lemon vinaigrette to complement your bagels. For drinks, freshly brewed coffee or a colorful fruit smoothie can elevate the meal. Curious about more innovative ideas? Check out this article for creative bagel pairings!
Time Breakdown for Homemade Bagels
Preparation Time
Get ready for the fun! You’ll need about 20 minutes to mix, knead, and shape your bagel dough.
Rising Time
Patience is key! Allow your dough to rise for about 1 hour at room temperature, plus an overnight chill for optimal texture.
Cooking Time
The actual cooking takes around 15-20 minutes: 2 minutes for poaching and 16-18 minutes in the oven.
Total Time
All in all, expect your homemade bagels to take about 12 hours from start to finish, counting the overnight rest. But don’t worry—most of that is passive waiting!
These bagels are well worth the wait, trust me! The delicious aroma wafting through your kitchen will make the time fly. For more insights on the science of flavors, check out Serious Eats or ease into the world of baking with resources from King Arthur Baking. Happy baking!
Nutritional Facts for Homemade Bagels
Calories per Bagel
Each of your homemade bagels contains about 250 calories. This makes them a satisfying choice for breakfast or a snack, while still being mindful of your calorie intake.
Key Nutrients Included
These delightful bagels are not just tasty; they also pack essential nutrients:
- Carbohydrates: 50g, providing energy.
- Protein: 10g, aiding muscle repair and growth.
- Fiber: 2g, promoting healthy digestion.
- Iron: 8mg, important for blood health.
With a good balance of nutrients, your homemade bagels can be a wholesome part of your diet. Consider adding toppings like turkey bacon or veggies for an even more nutritious meal! For more insight on bagel nutrition, check out Harvard's Health Publishing.
FAQs about Homemade Bagels
Can I freeze homemade bagels?
Absolutely! Freezing homemade bagels is a great way to enjoy them later. Once they’ve fully cooled, wrap them tightly in plastic wrap, followed by aluminum foil to prevent freezer burn. Place the wrapped bagels in a freezer-safe bag and they can last up to three months. When you’re ready to eat, simply thaw at room temperature or toast directly from the freezer for a quick breakfast.
How to store them for freshness?
To keep your homemade bagels fresh, store them in an airtight container or a resealable plastic bag at room temperature for up to 2 days. If you want to keep them longer, slice and freeze them as mentioned above. Avoid refrigerating, as this can dry them out.
What if my bagels aren't chewy enough?
If your bagels lack that quintessential chewiness, consider factors like your flour choice and hydration. Using high-protein bread flour is key for that perfect bagel texture. Also, ensure you’re properly boiling them before baking, as this step is critical for achieving that chewy crust. If you still find them soft, try adjusting your boiling time for a more intense finish!
Conclusion on Homemade Bagels
Making homemade bagels is not just about the delightful end product; it’s a rewarding process. The joy of kneading dough, poaching, and baking fills your kitchen with irresistible aromas. Enjoy the satisfaction of crafting bagels just the way you like them, and consider experimenting with different toppings for a personal touch!
Homemade Bagels
Equipment
- Stand Mixer
- slotted spoon
- Parchment-lined sheet pan
- large pot
Ingredients
For the Dough
- 1 cup Warm water Helps activate the dry active yeast for perfect rise.
- 2 tablespoon Barley malt syrup Adds subtle sweetness and enhances browning during baking.
- 2 teaspoon Dry active yeast The star ingredient for fluffiness; ensure it’s fresh.
- 4 cups Unbleached bread flour Gives structure and chewiness essential for bagels.
- 2 teaspoon Coarse kosher salt Enhances flavor and helps control yeast activity.
For the Poaching Liquid
- 4 quarts Water Forms the base for poaching, critical for creating that classic bagel texture.
- 2 tablespoon Barley malt syrup Used again to enrich the poaching liquid, adding depth to flavor.
- 2 tablespoon Baking soda Increases the alkalinity of the water, promoting that distinctive chewy crust.
- 2 teaspoon Coarse kosher salt Infuses flavor while poaching and aids in achieving a nice sheen.
For the Finishing Touches
- 1 Egg white wash Gives your bagels a beautiful glossy finish.
- Everything seasoning mix, poppy seeds, sesame seeds, etc. Customize your bagels with toppings for an extra burst of flavor!
Instructions
Bagel Making Process
- Whisk together warm water, barley malt syrup, and yeast in a small bowl. Let it sit for 8-10 minutes until it becomes cloudy, aromatic, and foamy.
- Mix flour and coarse kosher salt in the bowl of a stand mixer fitted with a dough hook. Stir until combined, then add the yeast mixture and mix on the lowest speed for 3 minutes. Allow the dough to rest for 5 minutes.
- Knead the dough for an additional 3 minutes until it feels stiff yet supple. Transfer it to a clean bowl, lightly oiled, cover with plastic wrap, and let it rise at room temperature for 1 hour.
- Divide the risen dough into 8 equal pieces, approximately 4 ounces each. Form each piece into a loose ball, flatten it slightly, and poke a hole through the center before stretching it into a 2-inch diameter opening.
- Arrange the shaped bagels on a greased, parchment-lined sheet pan. Mist with oil or cooking spray and cover with plastic wrap. Chill in the fridge overnight.
- Prepare the poaching liquid by boiling 4 quarts of water in a large pot, then lower the heat to a simmer. Add barley malt syrup, baking soda, and kosher salt.
- Check the chilled bagels for readiness: test by placing one in a bowl of cold water. If it floats, it's time to boil; if it sinks, allow it to rest at room temperature for another 15-30 minutes.
- Boil the floating bagels: gently lower them into the poaching liquid one at a time using a slotted spoon. Cook for one minute, then flip and cook for another minute. Place them domed side up on a lightly oiled parchment-lined tray.
- Bake by lowering the oven temperature to 450°F. Bake for 8 minutes, then rotate the pan. Bake for an additional 8-10 minutes until golden brown. Allow them to cool on a wire rack.

Leave a Reply