
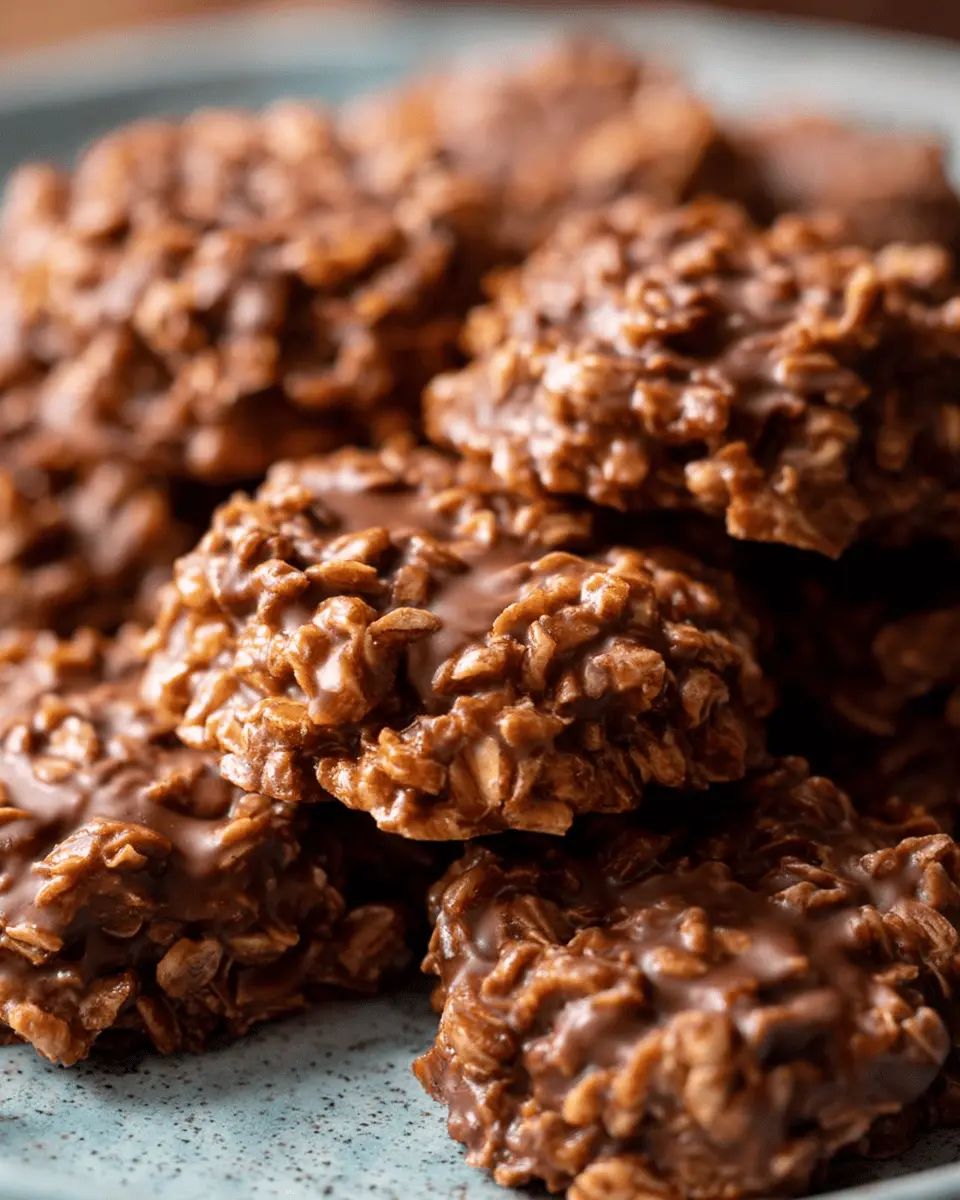
Introduction to Classic No-Bake Cookies
Classic No-Bake Cookies are a delightful treat that many young professionals adore, and it’s easy to see why. With a busy lifestyle that often involves juggling work, social commitments, and self-care, who has the time to bake? That’s where these delicious cookies come in. They require minimal prep and no oven time, making them the perfect sweet fix for those craving a chocolatey snack without any fuss.
Why Young Professionals Love No-Bake Cookies
The appeal of classic no-bake cookies lies in their simplicity. Just a handful of ingredients—like butter, oats, and peanut butter—combine to create a rich, satisfying treat. Plus, they're incredibly quick to whip up; you can have a batch ready in under an hour! This ease allows for more downtime or socializing with friends, whether it’s sharing cookies during a movie night or bringing a batch to work to brighten a colleague's day.
No-bake cookies also tap into the nostalgia of many who remember making these as kids and provide a great opportunity for experimentation. Feel free to tweak the recipe by adding dried fruits or nuts for an extra punch. For inspiration, check out this comprehensive guide on the versatility of no-bake desserts that can satisfy both sweet and healthy cravings.
Ingredients for Classic No-Bake Cookies
Creating your own classic no-bake cookies is not only simple but also a delightful way to indulge your sweet tooth without the hassle of baking. Here’s what you’ll need to whip up these treats:
-
Butter: Start with ½ cup (115 grams) of sliced butter. This will provide a rich flavor and help bind the ingredients.
-
Granulated Sugar: You’ll need 2 cups (400 grams) of granulated sugar. This is crucial for that sweet, satisfying taste.
-
Milk: Use ½ cup (120 ml) of milk for creaminess. Whole milk is my go-to, but options like almond or skim work well too.
-
Cocoa Powder: Add ¼ cup (20 grams) of unsweetened cocoa powder for that essential chocolatey goodness.
-
Peanut Butter: ½ cup (125 grams) of creamy peanut butter is vital for flavor and texture.
-
Vanilla Extract: Just 1 teaspoon of pure vanilla extract enhances all the flavors beautifully.
-
Quick-Cooking Oats: Finally, 3 cups (300 grams) of quick-cooking oats tie this recipe together, providing that chewy texture.
As you gather these ingredients, think about personalizing your cookies a bit—perhaps adding a sprinkle of sea salt or mixing in some chocolate chips? Check out additional ideas from sources like Epicurious for more inspiration! Remember, these classic no-bake cookies are like a blank canvas waiting for your creative touches.
Preparing Classic No-Bake Cookies
Making Classic No-Bake Cookies is a delightful way to satisfy your sweet tooth without turning on the oven. This super simple recipe will become a staple in your dessert repertoire. Let’s guide you through each essential step to ensure those cookies come out perfectly every time.
Gather and Measure Your Ingredients
First things first—gather and measure out all your ingredients. This step not only streamlines the baking process but ensures precision, which is key to successful cookie-making. Here’s a quick rundown of what you’ll need:
- ½ cup butter
- 2 cups granulated sugar
- ½ cup milk
- ¼ cup unsweetened cocoa powder
- ½ cup creamy peanut butter
- 1 teaspoon pure vanilla extract
- 3 cups quick-cooking oats
Make sure to line two large baking sheets with parchment paper before diving into the mixing—this prevents a sticky cleanup later on!
Create the Chocolate Mixture
Next, you’ll whip up the chocolate base, which is the heart of your classic no-bake cookies. In a large saucepan, combine the butter, sugar, milk, and unsweetened cocoa powder. Heat the mixture over medium heat, stirring often to avoid burning. When the butter has melted, increase the heat until it reaches a rolling boil. Be sure to set a timer and let it boil for exactly 60 seconds. This crucial step helps to create the right texture for your cookies, ensuring they hold together beautifully.
Incorporate the Peanut Butter and Oats
Once your mixture has boiled for a minute, remove it from the heat. Now, it’s time to stir in the creamy peanut butter and vanilla extract. The peanut butter not only adds an incredible flavor but also helps bind everything together. Mix until fully combined, and then fold in the oats. Be sure that every oat is well-coated with that delicious chocolate-peanut butter goodness.
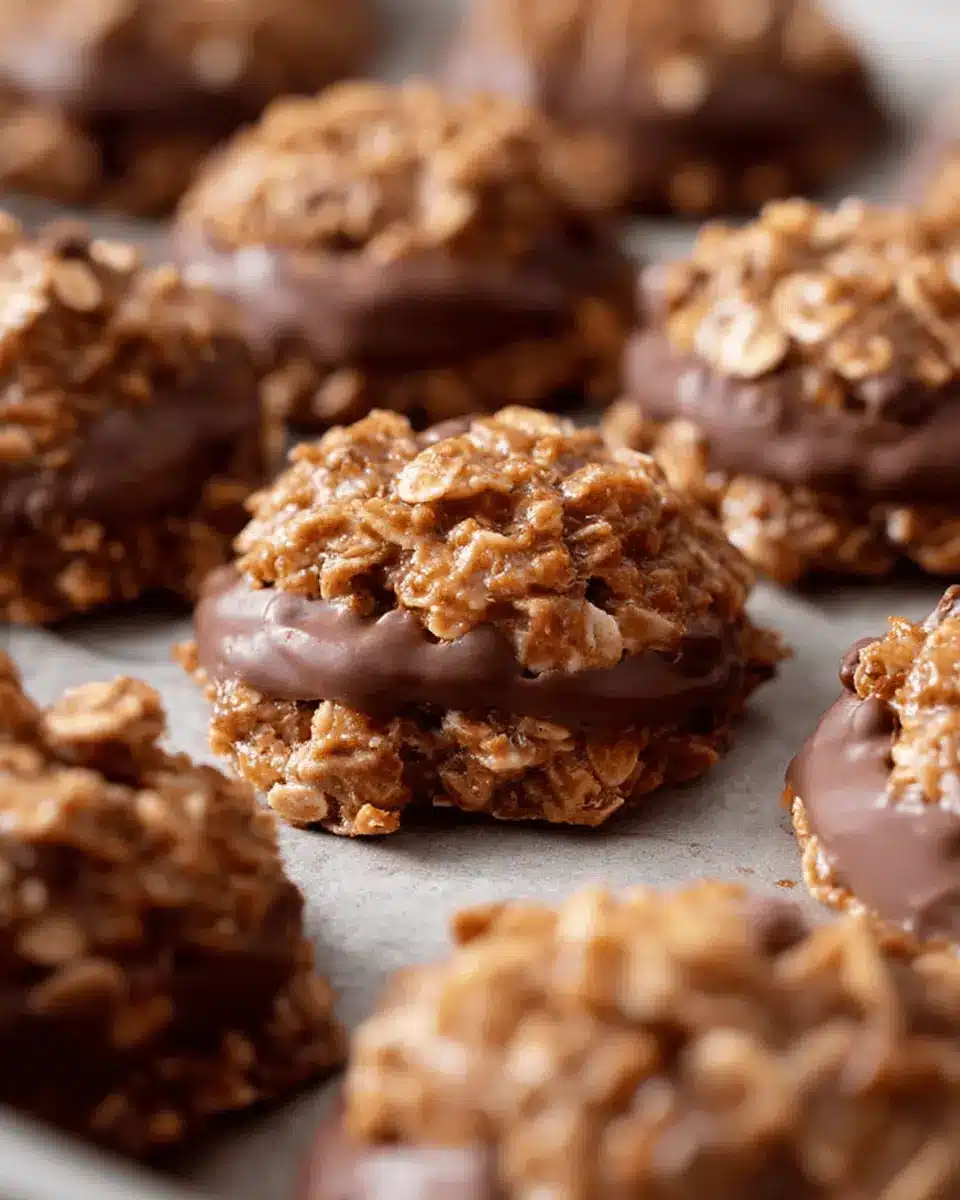
Drop Spoonfuls onto Baking Sheets
Now comes the fun part—dropping spoonfuls of the cookie mixture onto your prepared baking sheets. A 1.5 tablespoon cookie scoop works perfectly for this, ensuring even sizes and uniformity. Remember that they will not spread in the oven since there’s no baking involved; they’ll hold their shape right from the scoop.
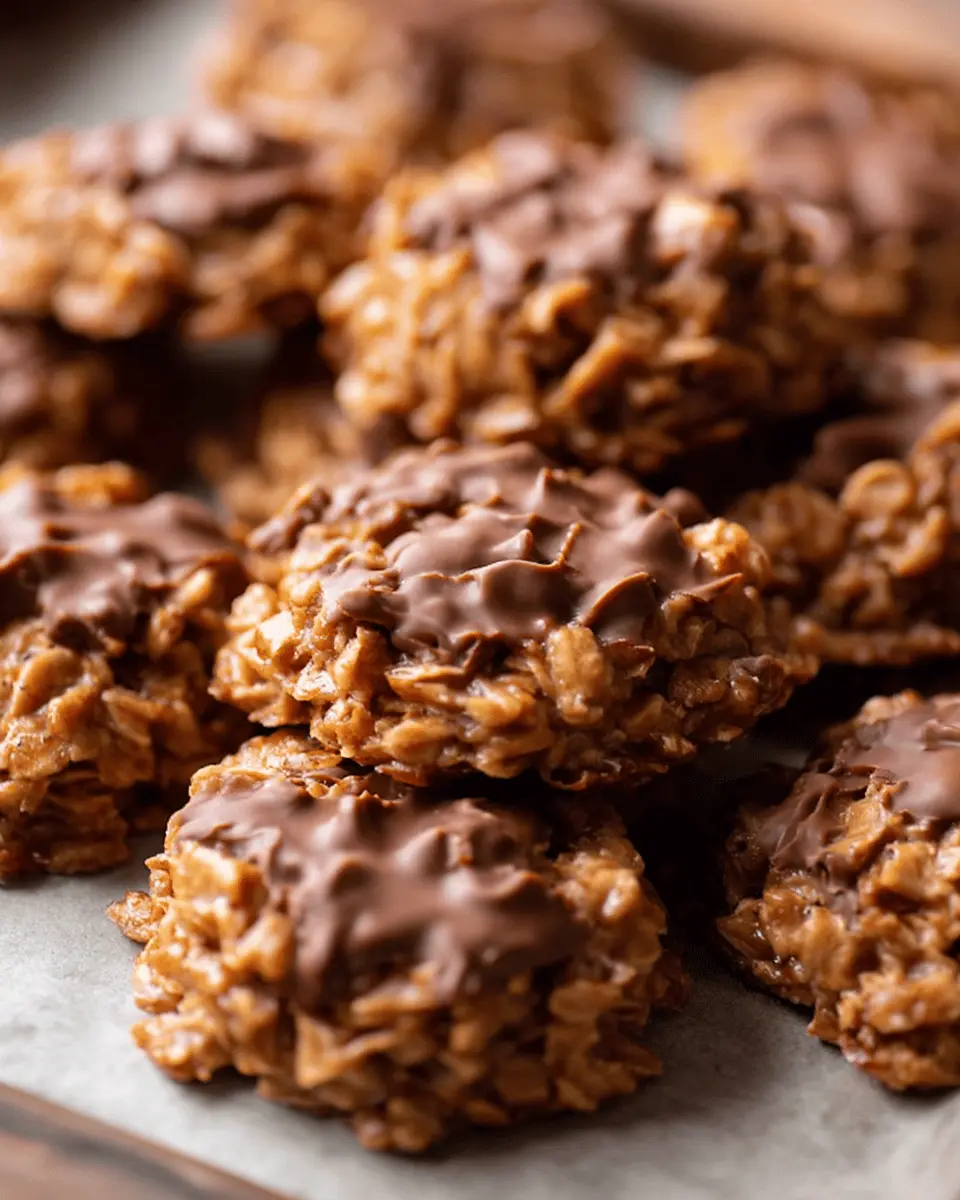
Allow Cooling Time
After you’ve placed all your cookie dollops on the baking sheets, it's time to let them cool. Allow them to sit at room temperature for about 20 to 30 minutes. This cooling period is vital as it gives your classic no-bake cookies the chance to firm up and develop their delightful chewy texture. Try to resist the urge to sample them right away—though, I fully understand how tempting that might be!
Now you’re well on your way to creating a quick and delicious treat! Once cooled, serve your classic no-bake cookies to friends and family or store them for a week in an airtight container. For more delicious recipes, check out Serious Eats or Bakerella for inspiration. Enjoy your baking adventure!
Variations on Classic No-Bake Cookies
No-bake cookies are wonderfully versatile, and there are countless ways to customize this classic treat to suit different dietary needs and taste preferences.
Nut-Free No-Bake Cookies
If you need to avoid nuts, simply swap the peanut butter with sun butter or soy nut butter, both of which offer a similar creamy texture and rich flavor. You won't miss out on that delightful taste!
Vegan No-Bake Cookies
For a vegan twist, replace the butter with coconut oil or a vegan margarine, and use a plant-based milk. Look for nut-free chocolate options if you're aiming for a complete allergy-friendly treat.
Flavor Variations
Don't hesitate to experiment with flavors! Add peppermint extract for a refreshing minty cookie or toss in shredded coconut for a tropical flare. You could even mix in some chopped dark chocolate or nuts (if allergies aren't a concern) for extra texture.
These variations can make your classic no-bake cookies unique and enjoyable for everyone! For more ideas on how to amp up your cookie game, check out this recipe collection.
With a little creativity, you can cater to any crowd and ensure everyone walks away smiling!
Cooking Tips and Notes for Classic No-Bake Cookies
Adjusting Texture with Oats
The choice of oats can really affect the texture of your classic no-bake cookies. Quick-cooking oats give these cookies a softer chew, while old-fashioned oats create a heartier bite. If you prefer a chewier texture, feel free to pulse old-fashioned oats a few times in a food processor for a finer consistency. This simple hack can help you achieve that perfect balance!
Keeping Cookies from Spreading Too Much
To prevent your cookies from spreading excessively, make sure your mixture is thick and fully set before scooping. If you find your batter is too runny, consider adding a bit more oats, which will not only help with thickness but also enhance that delicious oaty flavor. Using parchment paper on your baking sheets can also help them hold their shape while cooling!
For more in-depth tips on achieving the perfect cookie texture, check out resources from Serious Eats or the Food Network. Happy baking!
Serving suggestions for Classic No-Bake Cookies
Pairing with milk or plant-based alternatives
Nothing complements Classic No-Bake Cookies quite like a cool glass of milk or a tasty plant-based alternative. Whether you enjoy creamy whole milk, nutty almond milk, or rich oat milk, your cookies and choice of drink will create a delightful balance. Some people even love pairing them with a scoop of vanilla ice cream for a decadent twist. It's the perfect way to unwind after a long day!
Creative ways to present them at gatherings
When it comes to serving your Classic No-Bake Cookies at gatherings, presentation is key. Try arranging them on a vibrant platter, perhaps garnished with fresh fruit like strawberries or bananas. Alternatively, wrapping them in decorative cellophane bags tied with twine makes for charming party favors. For a fun touch, offer a DIY topping station with sprinkles, shredded coconut, or chopped nuts, encouraging guests to personalize their treats!
Time Breakdown for Classic No-Bake Cookies
When you're ready to whip up these delicious classic no-bake cookies, here's a simple breakdown of the time you'll need.
Preparation Time
Spend about 20 minutes gathering your ingredients and getting them prepped. This includes measuring out everything and lining your baking sheets, so you’re ready to go!
Cooking Time
The cooking process only takes around 5 minutes. Just remember to keep an eye on the saucepan while you bring the mixture to a boil—set that timer!
Cooling Time
After dropping spoonfuls onto the baking sheets, let your cookies cool for 20 minutes. This will allow them to set perfectly before you indulge.
With a total time of about 45 minutes, you’ll have a sweet treat ready in no time! For more kitchen tips, check out resources like Food Network for inspiration. Happy baking!
Nutritional Facts for Classic No-Bake Cookies
When you're craving something sweet, these classic no-bake cookies hit the spot! Here’s a breakdown of their nutritional value to help you indulge wisely.
Calories
Each cookie contains approximately 120 calories, making it a delightful snack without overloading on calories.
Carbohydrates
With around 17 grams of carbohydrates per cookie, these treats provide a quick source of energy, perfect for any time of the day.
Sugars
Each cookie has about 10 grams of sugar, balancing sweetness with the wholesome goodness of oats and peanut butter.
For more insights on the nutritional content of cookies and their health impacts, you might want to check out Healthline and The Nutrition Source. Your sweet tooth can be satisfied without sacrificing your nutritional goals!
FAQ about Classic No-Bake Cookies
How can I make my no-bake cookies firmer?
If you find your classic no-bake cookies are a bit too soft, there are a couple of tricks you can try. First, make sure you're boiling the mixture for the full 60 seconds. This step is crucial as it helps achieve the right consistency. If you're still not satisfied, you can add a bit more oats or reduce the amount of peanut butter slightly. Additionally, allowing the cookies to sit longer in the refrigerator can help them firm up nicely.
What are common mistakes to avoid when making no-bake cookies?
One of the most common pitfalls is not measuring ingredients properly. Imprecise measurements can lead to inconsistent results. Also, be careful not to overcook or undercook the mixture. It’s all about that perfect rolling boil for exactly one minute! Lastly, remember to let the cookies cool completely before serving to really let the flavors meld together.
Can I store no-bake cookies in the freezer?
Absolutely! Classic no-bake cookies can be stored in the freezer for up to three months. Just ensure they are fully cooled, then place them in a freezer-safe bag or container. To enjoy them later, simply thaw them at room temperature. This makes them a perfect go-to treat for unexpected guests or a sweet snack during a busy week!
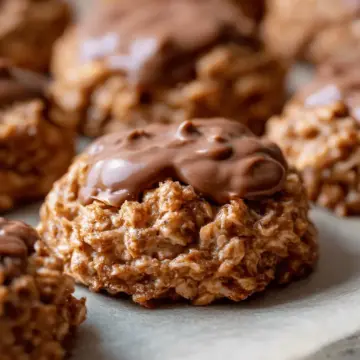
Conclusion on Classic No-Bake Cookies
In summary, classic no-bake cookies are a delightful treat that combines ease with scrumptious flavors, making them perfect for any occasion. With simple ingredients, these cookies are quick to whip up and satisfy sweet cravings without a single oven. Try them out and enjoy a timeless dessert that never disappoints!
For more inspiration, check out these easy dessert ideas or explore the joy of creating your own variations of no-bake treats!
Classic No-Bake Cookies: The Easy Indulgence You'll Love
Equipment
- large saucepan
- baking sheets
- parchment paper
- cookie scoop
Ingredients
- ½ cup butter sliced into pieces
- 2 cups granulated sugar
- ½ cup milk
- ¼ cup unsweetened cocoa powder
- ½ cup creamy peanut butter
- 1 teaspoon pure vanilla extract
- 3 cups quick-cooking oats
Instructions
- Before getting started, make sure to gather all of your ingredients and measure everything out. Line two large baking sheets with parchment paper and set aside.
- Combine the butter, sugar, milk, and unsweetened cocoa powder in a large saucepan and heat over medium heat, making sure to stir often until the butter is melted and everything is well combined. Bring the mixture to a rolling boil and allow to boil for 60 seconds, stirring occasionally.
- Remove from the heat, and stir in the peanut butter and vanilla extract until fully combined. Stir in the oats and mix until all of the oats are coated with the mixture and everything is well combined.
- Drop spoonfuls of the mixture onto the prepared baking sheets. Allow to cool for 20 to 30 minutes, serve, and enjoy!
Leave a Reply