
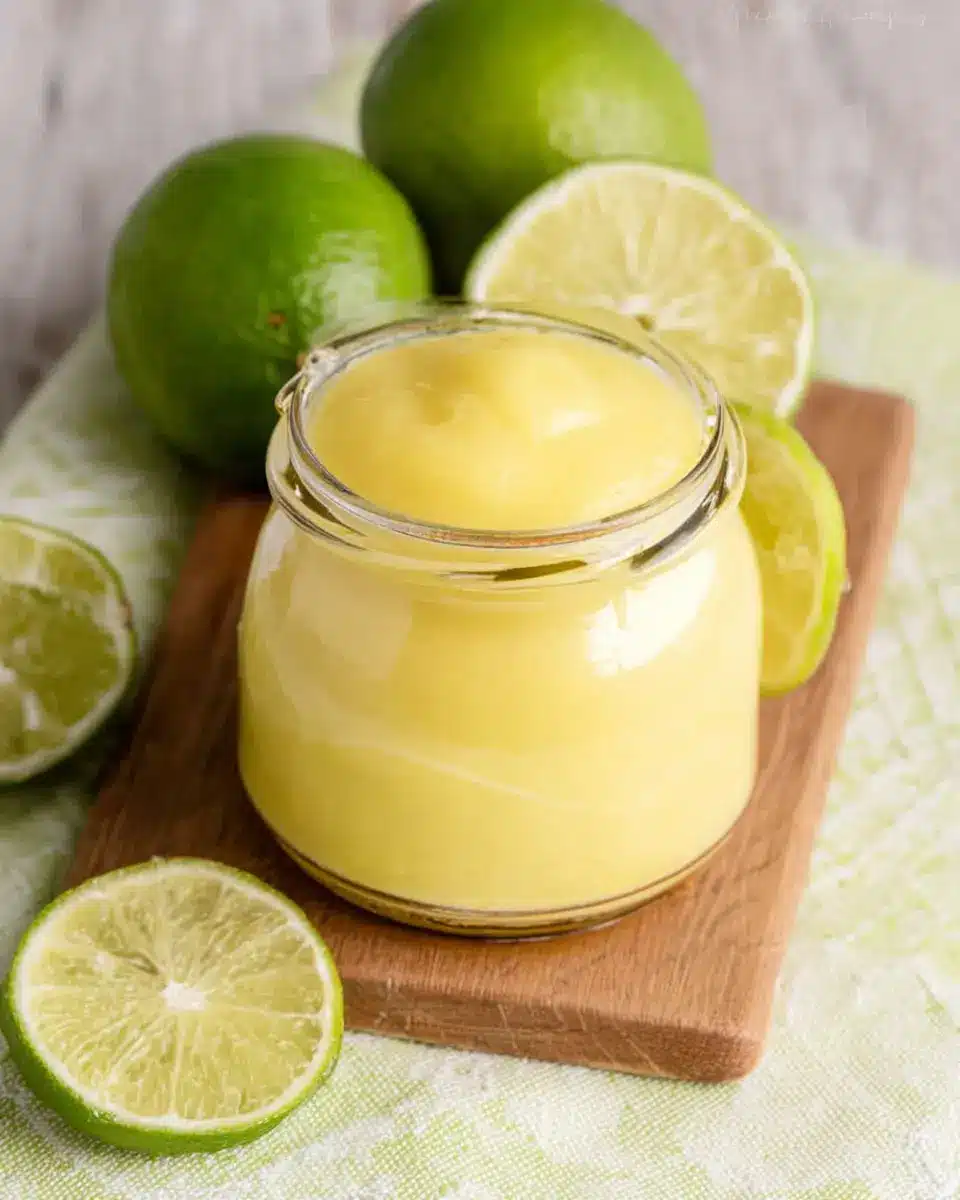
Introduction to Homemade Key Lime Curd
Making your own homemade key lime curd is a delightful experience that can elevate your desserts from ordinary to extraordinary. If you’ve ever tasted the tartness of key lime paired with the richness of a creamy curd, you know just how transformative it can be. This luscious spread can add a burst of flavor to cakes, cupcakes, or even a simple spoonful right out of the jar!
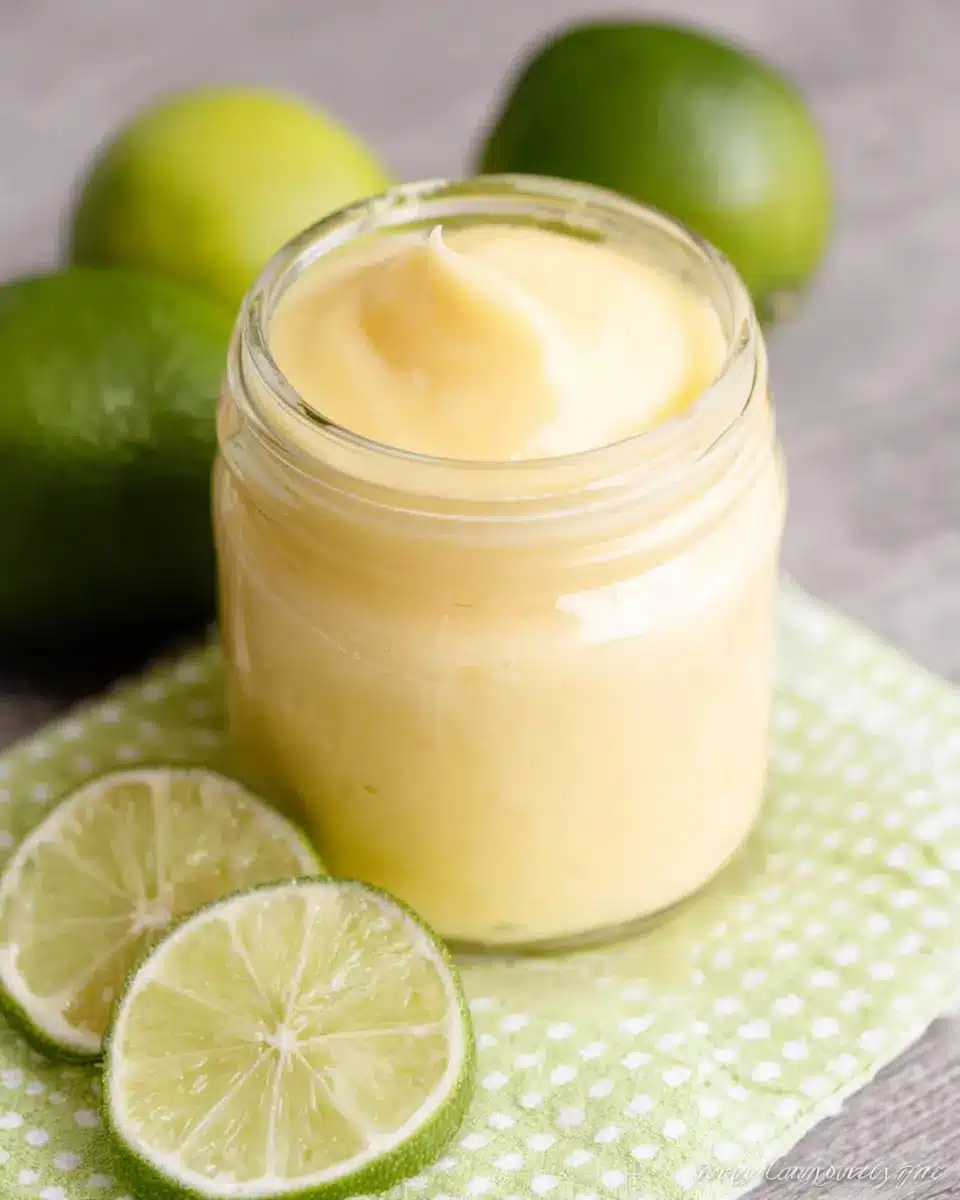
Why is homemade key lime curd a game changer?
One of the standout benefits of making your own key lime curd is the control you have over ingredients. Store-bought versions often contain preservatives and additives, while your homemade key lime curd is crafted with fresh ingredients, giving it a vibrant flavor profile that’s second to none. Plus, it’s incredibly simple to whip up in just a few steps, making it a perfect weekend baking project.
Imagine whipping up a batch and using it to fill cupcakes or as a topping for yogurt—it’s a guaranteed showstopper. Additionally, the versatility of key lime curd extends beyond sweets; consider using it in salad dressings or as a zesty sauce for grilled meats. With this recipe, you can impress your friends and family with your culinary skills and serve dishes that are both delicious and memorable.
For a smooth, tangy curd that preserves the essence of key limes, look no further than this recipe!
Ingredients for Homemade Key Lime Curd
Making your own homemade key lime curd is a fun and straightforward process, perfect for brightening up desserts or simply enjoying on its own. Here’s a comprehensive list of ingredients you'll need to whip up this delightful treat:
- 3 large eggs: These form the creamy base of your curd. Fresh eggs work best for a rich texture.
- ¾ cup granulated sugar: This adds the essential sweetness, balancing the tartness of the key limes.
- ¼ cup key lime juice: Freshly squeezed is always best—aim for about 8-10 key limes if you're juicing them yourself!
- 1 tablespoon key lime zest: This packs in extra flavor; make sure to zest lightly to avoid the bitter white pith underneath.
- ¼ teaspoon kosher salt: A pinch of salt enhances all the flavors beautifully.
- 4 tablespoons unsalted butter: The butter not only adds richness but also helps create that velvety texture that we all love in a good curd.
Gather these ingredients and you'll be on your way to creating a delicious homemade key lime curd that’s sure to impress!
Preparing Homemade Key Lime Curd
If you’re looking for a delightful way to elevate your desserts, homemade key lime curd is a bright and zesty option you'll want to try! This step-by-step guide will help you create a velvety, tangy curd that can be used in a variety of treats. Let's get started!
Whisking the Eggs and Sugar
Begin by cracking three large eggs into a small pot. Add three-quarters of a cup of granulated sugar. Use a whisk to mix these two ingredients together off the heat. It’s essential to blend them until they’re well combined and slightly thickened—this process creates a lovely base for your curd.
Adding the Key Lime Juice, Zest, and Salt
Once your eggs and sugar are well-whisked, it’s time to bring in the zestiness! Squeeze in a quarter cup of fresh key lime juice (that’s about 8-10 key limes) and add a tablespoon of key lime zest. The zest really packs a flavor punch! To enhance the taste, sprinkle in a pinch of kosher salt. Whisk everything again until it’s all well mixed. If you’re wondering why salt is essential, it helps balance the sweetness and enhances the overall flavor of your homemade key lime curd.
Heating the Mixture
Now, it's time to take your pot to the stove. Place it on medium-low heat, stirring constantly with a wooden spoon. This is crucial because it ensures even heating, preventing any scrambled egg bits from forming. Keep stirring until the mixture becomes warm and starts to thicken slightly—it should take about 5-7 minutes.
Incorporating the Butter
Next, add four tablespoons of unsalted butter into your warm mixture, one tablespoon at a time. Stir vigorously until each piece melts and incorporates into the curd. You’ll notice that the texture will begin to transform into something smooth and creamy—a sure sign that your homemade key lime curd is on the right track!
Checking for Doneness
To check if your curd is ready, dip a spoon into the mixture. It’s done when it coats the back of the spoon and leaves a clear line when you run your finger through it. This can take around 10-15 minutes, so be patient!
Optional Straining
For a super smooth texture, you might want to strain your curd through a fine-mesh sieve into a bowl. This step filters out any bits of egg or zest, leaving you with a velvety result that’s simply delightful.
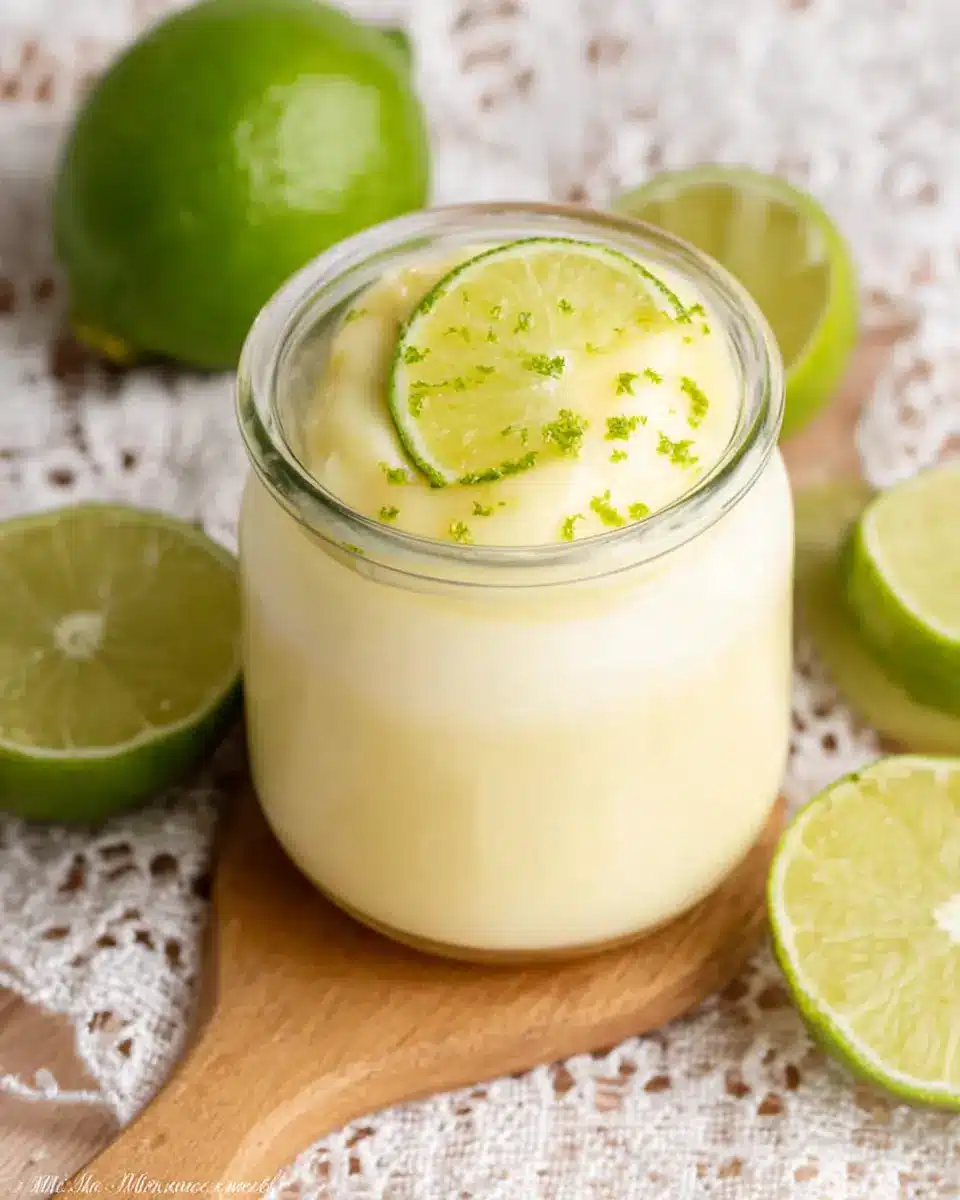
Cooling the Curd
Finally, cover your bowl tightly with plastic wrap or a lid to prevent a skin from forming. Place it in the refrigerator until it’s completely chilled—this usually takes about two hours. Once cooled, your homemade key lime curd is ready to elevate your cupcakes or any other dessert you desire!
This process might seem lengthy, but the results are absolutely worth it! Your friends and family will love the fresh, zesty flavor that adds a burst of brightness to any dish. Enjoy!
Variations on Homemade Key Lime Curd
Spicy Key Lime Curd
If you’re in the mood for a kick, try adding a pinch of your favorite hot pepper flakes or a dash of cayenne to your homemade key lime curd. The spice beautifully complements the tartness of the key limes, creating a bold flavor profile that’s perfect for adventurous palates. It’s an unexpected twist that can elevate your desserts, making them fascinating conversation starters at your next gathering!
Coconut Key Lime Curd
For a tropical flair, incorporate coconut milk into your homemade key lime curd. Simply replace a few tablespoons of butter with coconut milk and add shredded coconut for texture. This variation melds the zesty with the creamy, bringing a delightful burst of the tropics to your dishes. It’s not only delicious but also pairs wonderfully with fish or as a sweet filling for tarts. Who wouldn't want to enjoy a taste of the beach right at home?
Explore these variations to find your new favorite spin on a classic recipe!
Cooking tips and notes for Homemade Key Lime Curd
Ensuring the perfect texture
Creating homemade key lime curd is all about achieving that luscious, creamy texture. Use fresh key limes—about 8-10 for ¼ cup of juice—for the best flavor. Whisk the ingredients off the heat to prevent scrambling, then stir continuously as you cook. This method promotes even thickening and prevents sticking. For an ultra-smooth finish, consider straining the curd through a fine mesh sieve before chilling.
Troubleshooting curd consistency
If your curd doesn't thicken, it may need more time over the heat. Keep stirring! If it's too thick, gently stir in a little more juice or water to reach your desired consistency. Remember, curd will firm up further as it cools in the fridge, so don’t be afraid to adjust it slightly before cooling.
Serving suggestions for Homemade Key Lime Curd
Key Lime Curd with Desserts
You can elevate many of your favorite desserts with homemade key lime curd. Consider spreading it on a fluffy sponge cake or incorporating it into a layered parfait with whipped cream and crushed graham crackers—it’s like a key lime pie in a glass! For something quick and fun, drizzle it over vanilla ice cream for a zesty twist, or use it as a filling in tart shells topped with fresh berries. Need more ideas? Check out Taste of Home for inspiration to let your creativity shine!
Key Lime Curd in Breakfast Dishes
Start your morning on a bright note by incorporating key lime curd into breakfast dishes. Imagine spooning it over pancakes or waffles in place of syrup—your brunch will never be the same! You can also swirl it into Greek yogurt for a refreshing parfait or even spread it on your toast alongside some turkey bacon for a delightful contrast. A dollop into overnight oats adds a zingy flavor, turning the dish into something truly special. If you're looking for more breakfast innovations, browse ideas on Food Network and bring zest to your morning routine!
Time Breakdown for Homemade Key Lime Curd
Preparation Time
Getting everything ready for your homemade key lime curd takes about 10 minutes. This includes gathering your ingredients and whisking together your eggs and sugar.
Cooking Time
The actual cooking will take around 15 minutes. You'll be stirring over medium-low heat until your curd thickens into that delightful creamy consistency.
Total Time
Overall, expect this delicious treat to take about 25 minutes from start to finish, excluding cooling time. To fully enjoy the flavors, let it chill in the fridge for at least an hour before using!
If you're curious about the science of curd, check out King Arthur Baking for some baking insights!
Nutritional Facts for Homemade Key Lime Curd
When whipping up a batch of homemade key lime curd, it's good to keep the nutritional profile in mind. Here’s a quick breakdown of the key nutritional facts:
Calories
Each serving of homemade key lime curd packs around 1187 calories, making it quite a rich addition to your baking repertoire.
Sugar Content
With a total of 151 grams of sugar, this curd is indeed a sweet treat! Using fresh key limes not only enhances the flavor but also adds a touch of zest to your desserts.
Fat Content
This delightful spread contains approximately 58 grams of fat, primarily from the unsalted butter. While it might seem high, the buttery richness is essential for that creamy texture we love.
Enjoy indulging in this delicious treat, but remember, moderation is key! If you're looking to lighten it up, consider reducing sugar slightly or experimenting with healthier butter alternatives.
For more information on homemade key lime curd and tips on making it just right, check out the following links: Healthline on reducing sugar in recipes and Cooking Light's guide on butter substitutes.
FAQ about Homemade Key Lime Curd
How long does key lime curd last in the fridge?
Homemade key lime curd can last about 1 to 2 weeks in the refrigerator when stored in an airtight container. To ensure its freshness, it's best to use a clean spoon each time you access it. You’ll know it's still good if it retains its vibrant color and creamy texture.
Can I use bottled key lime juice?
Yes, you can absolutely use bottled key lime juice in your homemade key lime curd! However, for the best flavor, fresh-squeezed juice is recommended. The bottled varieties can vary in taste, so check the label for quality. Brands like Nellie & Joe’s are popular for bringing a zesty punch to your curd without the fuss of squeezing limes yourself.
What are some creative uses for key lime curd?
The possibilities are endless with key lime curd! Spread it on toast, dollop it over pancakes, or use it as a filling for pastries. It's also fantastic in tarts, layered in cakes, or swirled into yogurt for a refreshing treat. You might even consider using it as a zesty topping for your favorite desserts. The tangy, sweet flavor will elevate any dish!
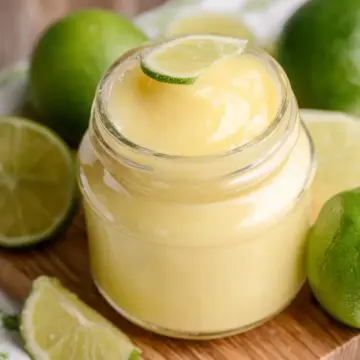
Conclusion on Homemade Key Lime Curd
In summary, there’s nothing quite like homemade key lime curd to brighten up your desserts! Its zesty flavor and creamy texture elevate any dish, from cupcakes to tarts. With simple ingredients and an easy process, you’ll find yourself making this delightful treat again and again. Enjoy!
Homemade Key Lime Curd
Equipment
- small pot
- whisk
- Wooden Spoon
- medium bowl
Ingredients
Base Ingredients
- 3 large eggs
- ¾ cup granulated sugar
- ¼ cup key lime juice 8-10 key limes
- 1 tablespoon key lime zest
- ¼ teaspoon kosher salt
- 4 tablespoon unsalted butter
Instructions
Cooking Instructions
- In a small pot, off the burner, whisk together eggs and sugar until well blended.
- Whisk in key lime juice, zest, and salt.
- Place the pot on a burner on medium-low heat and stir fast and constantly with wooden spoon until mixture is warmed through.
- Add the butter a tablespoon at a time until melted and curd becomes smooth.
- Continue stirring constantly until curd thickens and looks almost creamy.
- The curd is done once it coats the back of a spoon.
- Optional Step: Strain curd through a cheesecloth or fine mesh sieve into a medium bowl to remove zest pieces and any clumps.
- Tightly seal the bowl with a cover or cling wrap and place in the fridge until completely cooled.
- Once cooled, spoon about a tablespoon or a little less into the holes you cored out in the cupcakes.


Leave a Reply