
Introduction to Danish Butter Cookies
The allure of homemade treats
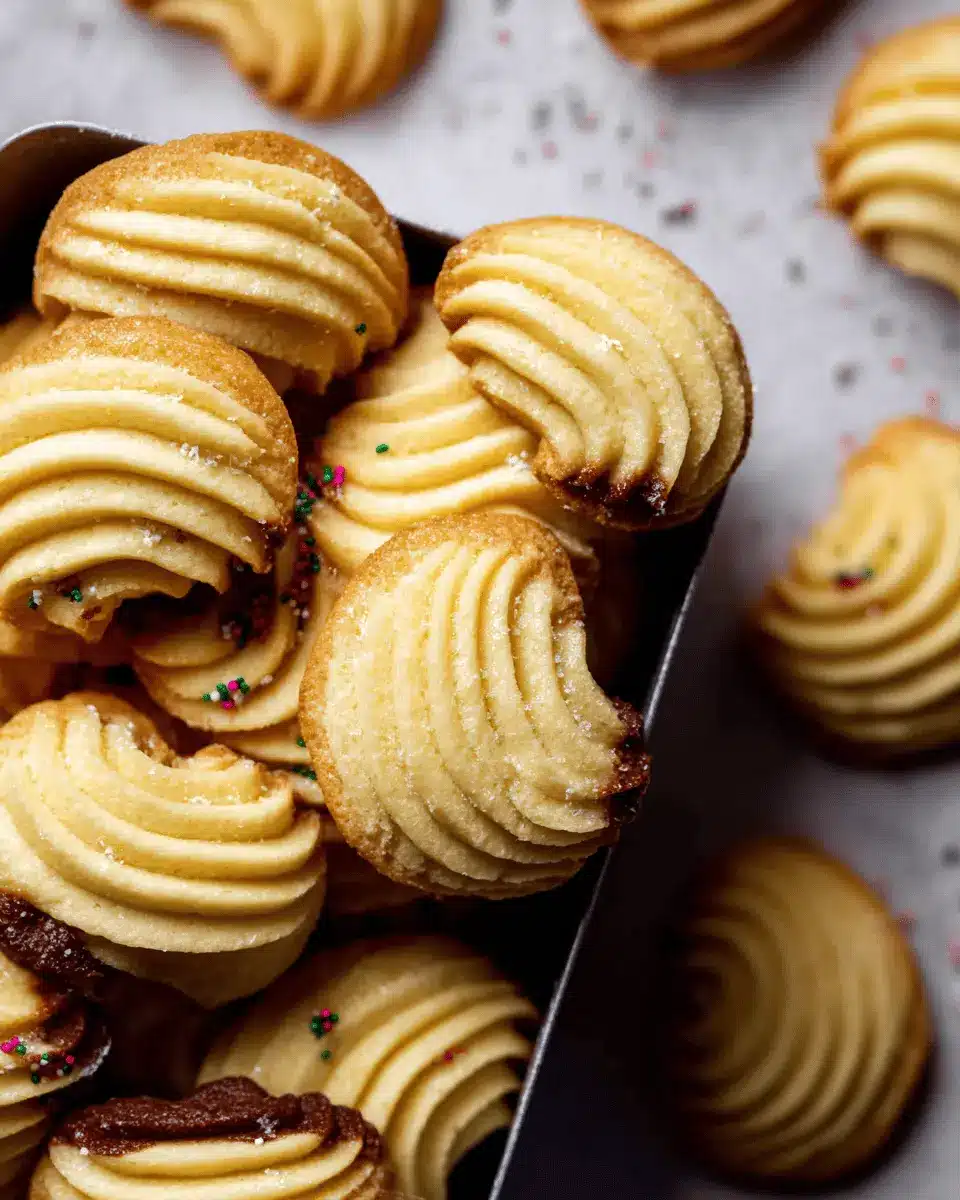
There's something truly special about homemade treats, isn’t there? The inviting aroma that fills your kitchen, the simple joy of crafting something delightful from scratch, and, of course, the satisfaction of sharing those sweet creations with loved ones. Danish Butter Cookies epitomize this experience with their melt-in-your-mouth texture and buttery flavor.
Originating from Denmark, these cookies have captivated taste buds far and wide. Their delicate, crumbly nature is perfect for an afternoon snack, coffee break, or even festive celebrations. And the best part? Making them at home ensures that each cookie is tailored to your taste, allowing you to add your favorite flavorings like almond or vanilla.
Aside from their exquisite taste, homemade cookies offer a personal touch that store-bought options simply can't match. When you bake from home, you control the quality of ingredients, making each bite not just delicious but also a labor of love. Ready to dive into the world of Danish Butter Cookies and experience the magic of baking? Let's get started!
A Taste of Tradition
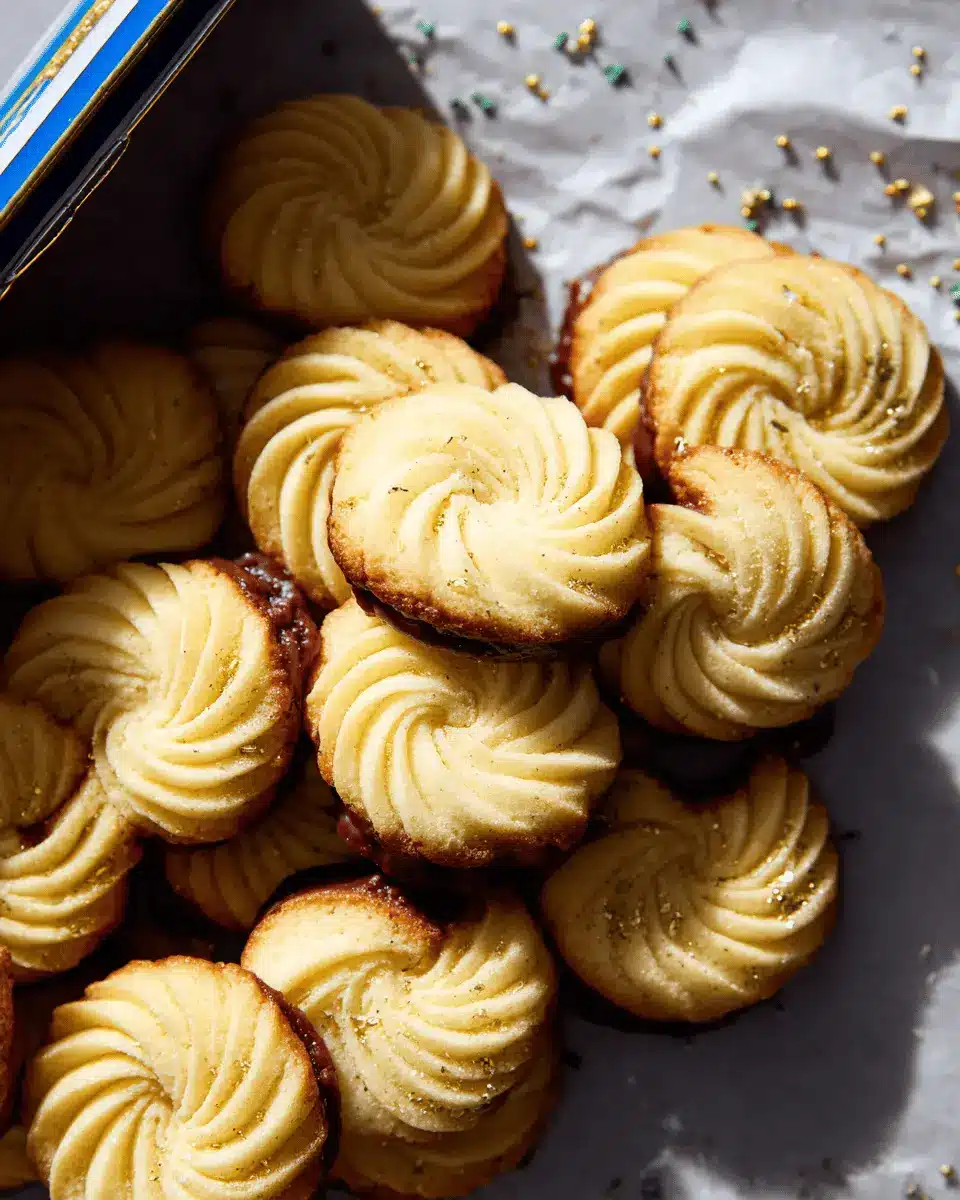
Danish butter cookies have long been a beloved staple, showcasing the perfect balance of simplicity and elegance. As you indulge in these golden treats, a rich history of Scandinavian baking traditions fills the air. You'll notice how each buttery bite connects you to a long line of bakers who have loved and cherished this classic recipe.
Ingredients for Danish Butter Cookies
Creating delightful Danish Butter Cookies is all about using the right ingredients to achieve that melt-in-your-mouth texture. Here’s what you’ll need:
Essential ingredients for perfect butter cookies
- Unsalted Butter (250 g): Room temperature butter is key for achieving that creamy texture.
- Icing Sugar (70 g): This fine sugar helps create a tender cookie with a lovely sweetness.
- Plain Flour (280 g): The foundation of the cookie, providing structure without too much density.
- Cornflour (30 g): This lightens the texture, making your cookies melt in your mouth.
- Salt (¼ teaspoon): A pinch enhances all the flavors, balancing the sweetness.
- Milk (1-2 tablespoons): This can be adjusted to ensure the right piping consistency.
Optional flavor additions for custom cookies
To personalize your Danish Butter Cookies, consider adding:
- Vanilla Extract (1 tsp): A classic flavor that pairs beautifully with the rich butter.
- Almond Extract (½ tsp): This adds a lovely nutty undertone that's simply irresistible.
For more inspiration on customizing your cookies, check out Epicurious for additional flavor ideas.
Preparing Danish Butter Cookies
Making Danish Butter Cookies is a delightful experience that fills your kitchen with the comforting aroma of freshly baked treats. Follow these straightforward steps to create batches of buttery goodness that are perfect for any occasion!
Step 1: Gather Your Equipment
Before diving in, let’s make sure you have all the necessary tools. You’ll need:
- Baking trays
- Electric mixer
- Piping bag
- Large piping tip or nozzle (like a star tip)
Having everything on hand will streamline your baking process, preventing any last-minute scrambles.
Step 2: Mix the Butter and Sugar
Start by measuring out 250 grams of unsalted butter and 70 grams of icing sugar, placing them in the bowl of your electric mixer. Beat the mixture until it becomes pale and fluffy—this should take about 4 minutes. At this stage, you can add 1 teaspoon of vanilla extract and ½ teaspoon of almond extract for added flavor. Scrape the sides of the bowl to ensure everything is well combined. It’s amazing how a bit of flavor can elevate your Danish Butter Cookies!
Step 3: Incorporate the Dry Ingredients
In a separate large bowl, combine 280 grams of plain flour, 30 grams of cornflour, and ¼ teaspoon of salt. Gradually add this dry mixture to your butter and sugar mix, beating well after each addition. Once combined, if your dough feels a little stiff, don’t hesitate to add 1 tablespoon of milk to achieve a smoother consistency. This is your chance to adjust the texture, making sure your cookies will pipe nicely.
Step 4: Pipe the Dough onto Trays
Next, transfer your cookie dough into a piping bag fitted with a large nozzle. Piping can be fun and gives your cookies that classic shape. If you find the dough too hard to pipe, add a little more milk (about ½ tablespoon at a time). Pipe the dough onto the prepped baking trays in your desired shapes.
Step 5: Chill the Dough
To ensure perfectly shaped cookies, it's important to chill the piped dough for at least 30 minutes. This helps the cookies hold their shape while baking. Make sure to cover them with cling film to prevent drying out!
Step 6: Bake to Golden Perfection
Finally, preheat your oven to 170°C (or 160°C for fan ovens). If desired, sprinkle some granulated sugar on top of your cookies before baking for added sweetness. Bake for about 10-15 minutes, or until the edges slightly turn golden brown. Allow the cookies to cool on the trays for a few moments before transferring them to a cooling rack.
So there you have it! A simple guide to preparing the most delicious Danish Butter Cookies that will impress friends, family, and, let's be honest, yourself too. Don’t forget to share your baking journey with pals who might also want to indulge in this buttery treat! Plus, if you’re looking for more baking inspiration, check out resources like King Arthur Baking for tips and tricks. Happy baking!
Variations on Danish Butter Cookies
Almond-infused Butter Cookies
For a delightful twist on classic Danish Butter Cookies, try adding almond extract to the dough. Just a half teaspoon can elevate the flavor profile, giving those buttery bites an irresistible nutty warmth. For an extra crunch, toss in some finely chopped almonds or almond slices before baking. This variation is perfect for those who adore nutty flavors and will surely impress guests during tea time or festive gatherings.
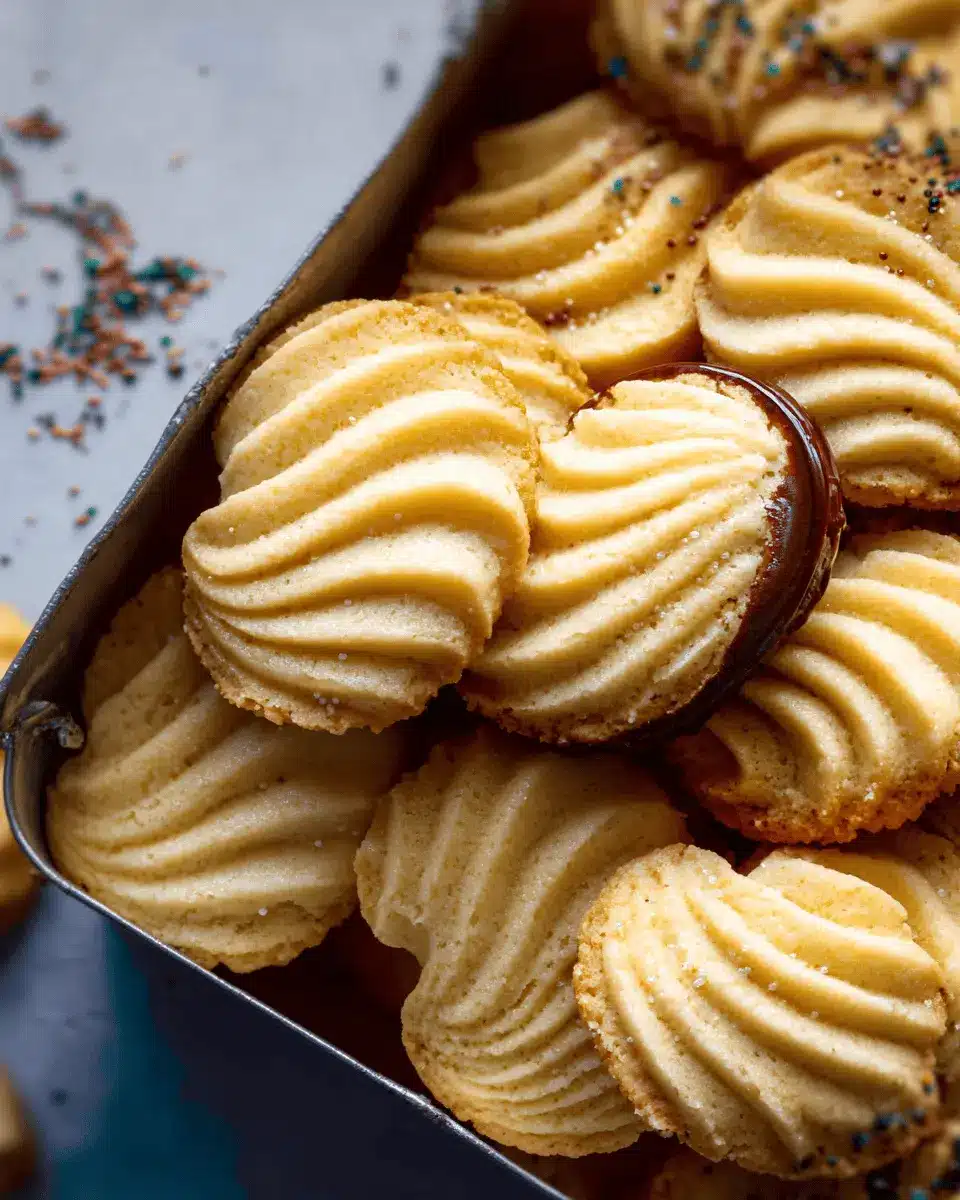
Chocolate-dipped Variations
Who can resist the combination of buttery cookies and rich chocolate? Once your Danish Butter Cookies have cooled, dip half of each cookie into melted dark or milk chocolate. Sprinkle with festive toppings like crushed nuts, sprinkles, or sea salt for a gourmet touch. Not only does this add a decadent layer, but it also creates a pleasing visual contrast, making these cookies perfect for special occasions or gifting.
Baking tips for Danish Butter Cookies
Key considerations for the perfect texture
Achieving the ideal texture for your Danish Butter Cookies begins with the butter. Make sure it’s at room temperature for easy mixing, which results in cookies that are light and flaky. Be mindful not to overmix after adding flour; this helps keep your cookies tender. Lastly, using the correct flour and cornstarch ratio is key. Too much flour can lead to a dense cookie, while not enough could cause them to fall apart.
Chilling insights for easier handling
Chilling the dough is essential for working with Danish Butter Cookies. It firms up the mixture, making it easier to pipe and shape. Aim for at least 30 minutes in the refrigerator, but feel free to chill it longer if your kitchen is warm. If your dough is too soft to manage, add a spoonful of milk cautiously and chill again. This ensures a seamless piping experience, allowing you to create those beautiful shapes.
Serving Suggestions for Danish Butter Cookies
Perfect Pairings with Beverages
Danish Butter Cookies are a delightful treat on their own, but pairing them with a beverage enhances the experience. Try enjoying these cookies with:
- Tea: A classic black tea, like Earl Grey, complements the buttery richness beautifully.
- Coffee: The robust flavor of a medium roast coffee balances the sweetness perfectly.
- Milk: A glass of cold milk is always a favorite, evoking childhood nostalgia.
For more beverage ideas, check out this helpful guide on pairing cookies and drinks.
Creative Ways to Serve at Gatherings
When entertaining, presentation matters. Here are some creative ways to serve your Danish Butter Cookies:
- Cookie Platters: Arrange them artfully on a decorative platter and sprinkle some powdered sugar for an elegant touch.
- Goodie Bags: Package them in clear gift bags tied with a ribbon for take-home favors—a sweet reminder of your gathering.
- Dessert Table: Feature these cookies alongside cupcakes and brownies to create a festive dessert spread.
These serving suggestions not only elevate your cookie game but also add personal touches to any occasion!
Time Breakdown for Danish Butter Cookies
Preparation time
Getting your ingredients prepped and ready takes about 20 minutes. During this time, you'll mix together that incredible buttery dough that's going to make your cookies melt-in-your-mouth delicious!
Baking time
Once the dough is chilled and ready, it's time for the real magic in the oven, which requires approximately 12-15 minutes. Keep an eye on them to catch that perfect golden edge!
Total time
By the time you whip up, chill, and bake your Danish Butter Cookies, you’re looking at a total of about 1 hour and 2 minutes. This includes some lovely time for them to relax in the fridge – a perfect moment to unwind while anticipating your sweet treat!
If you're eager to get started, gather your ingredients and let’s make some delicious memories! Want more tips on making cookies? Check out resources like King Arthur Baking for expert advice or baking inspirations!
Nutritional Facts for Danish Butter Cookies
Calories per cookie
Every delightful Danish Butter Cookie contains approximately 130 calories. Perfect for savoring without overindulging, these treats make for a satisfying dessert option when you're craving something sweet!
Key Nutritional Highlights
These cookies pack some surprising benefits! Each cookie includes:
- Carbohydrates: 13g, providing a quick energy boost.
- Fat: 8g, with 5g of that being saturated fat for creamy flavor.
- Protein: 1g, helping keep you feeling full.
- Sugar: 3g, just enough sweetness to satisfy your cravings.
If you’re interested in more detailed nutritional information or healthy baking tips, you might find resources like Healthline or NutritionData beneficial! Looking to dive into healthier alternatives?
Whether you’re planning a holiday gathering or simply indulging in a cozy night at home, these cookies are a delightful way to enjoy a taste of Denmark.
FAQs about Danish Butter Cookies
Can I substitute ingredients in the recipe?
Yes, you can be a bit creative with your Danish Butter Cookies. If you don’t have almond extract, you can skip it or use another flavor, like hazelnut or even just a bit more vanilla. However, keeping the butter as the primary fat is essential for that delightful melting texture.
How should I store my cookies?
To keep your delicious Danish Butter Cookies fresh, store them in an airtight container at room temperature. They can last up to a week, but trust me, they probably won’t last that long!
What are the best ways to freeze cookies?
Freezing is a smart option! To freeze baked cookies, simply place them in a freezer-safe container. They’ll stay fresh for up to two months. For unbaked cookies, freeze them on baking trays for about two hours before transferring them to a bag. When you’re ready to bake, just pop them straight from the freezer into the oven, adding a few extra minutes to the baking time. For more storage tips, check out this guide from the American Baking Guild.
Conclusion on Danish Butter Cookies
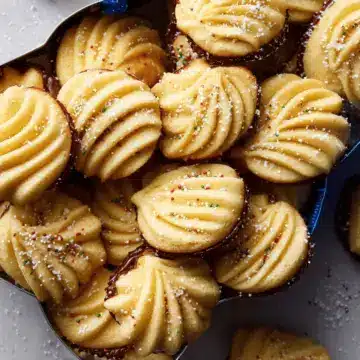
In summary, Danish Butter Cookies are a delightful treat that combines rich flavors and melt-in-your-mouth texture. Perfect for festive occasions or cozy gatherings, these cookies are sure to impress. With a simple recipe and customizable toppings, you can easily create a batch that everyone will love! For more inspiration on baking delightful cookies, check out the BBC Good Food website, where you'll find an array of cookie recipes to explore.
Danish Butter Cookies
Equipment
- baking trays
- Electric mixer
- piping bag
- large piping tip/ piping nozzle
Ingredients
- 250 g unsalted butter room temperature
- 70 g icing/ powdered sugar
- 1 teaspoon vanilla extract optional
- ½ teaspoon almond extract optional
- 280 g plain flour
- 30 g cornflour/ cornstarch
- ¼ teaspoon salt
- 1-2 tablespoon milk any
Instructions
- Make sure you have baking trays ready. You can line them up with baking paper or use a silicone baking mat. Ensure there is enough room in your fridge for the trays.
- Place the softened butter and icing sugar in a bowl of an electric mixer and beat together until pale and fluffy, about 4 minutes.
- Add almond and vanilla extracts (if using) and beat again, scraping the bottom and the sides of the bowl to ensure it is all mixed in.
- In a large bowl, combine the flour, cornflour, and salt. Tip half of the flour mix to the butter and sugar mix, beat to combine, then add the remaining flour and mix again until combined.
- Add 1 tablespoon of milk and mix well.
- Transfer the cookie dough into a piping bag with a nozzle of your choice.
- Pipe the dough onto baking trays. If it is too hard to pipe, add more milk gradually. Chill the piped cookies in the fridge for a minimum of 30 minutes.
- Preheat the oven to 170°C (160°C fan). Optionally sprinkle sugar on top of cookies. Bake cookies for 10-15 minutes until edges turn golden brown.
- Remove from oven and allow to cool on the baking tray for 5 minutes before transferring to a cooling rack.
- To decorate, dip the cookies into melted chocolate and sprinkle with your favorite sprinkles.

Leave a Reply