
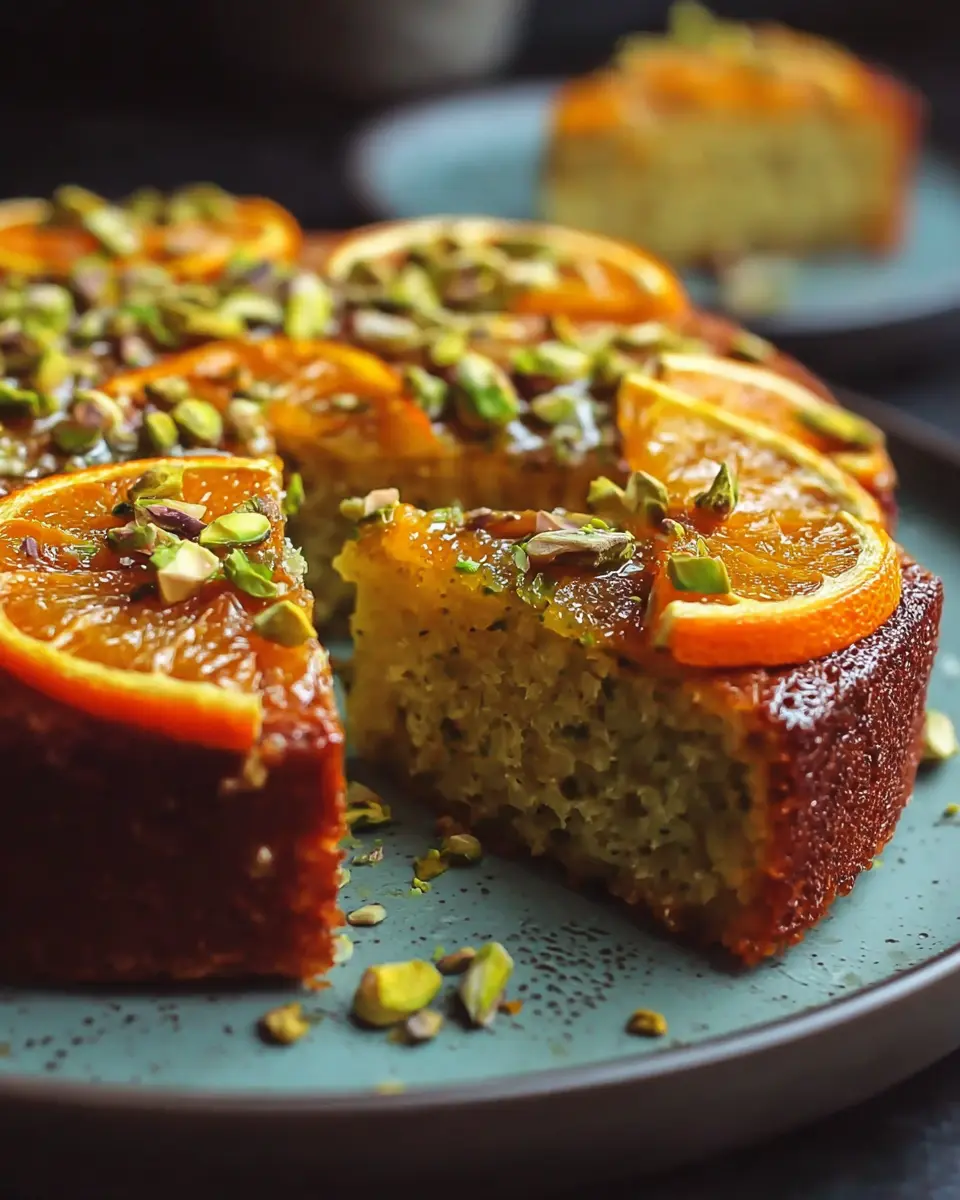
Introduction to Flourless Orange Pistachio Cake
Are you looking for a delicious twist on traditional cake? Look no further than the Flourless Orange Pistachio Cake! This cake is not only gluten-free but also offers a delightful medley of zesty orange and nutty pistachio flavors that will tantalize your taste buds.
Why Choose a Flourless Cake?
Choosing a flourless cake like this one isn't just a nod to dietary restrictions; it invites a world of unique textures and flavors. Flourless cakes tend to be denser and more moist than their flour-laden counterparts, making for a rich dessert experience. The lack of flour also lets the natural flavors of the ingredients shine through, ensuring that each bite is bursting with the vibrant essence of whole oranges and the earthy crunch of pistachios.
Plus, did you know that many flourless cakes are naturally lower in carbohydrates? This makes them a fantastic option for those monitoring their intake—without sacrificing flavor! You’re not just indulging; you’re also making a smart choice.
So why not treat yourself to this zesty, nutty dream? With minimal prep time and a simple method, creating this cake is a joyous experience worth sharing. For those seeking a nutritious yet indulgent dessert, this cake could just become your new go-to!
For more on healthy dessert options, check out Wellness Mama or Minimalist Baker for inspiration.
Ingredients for Flourless Orange Pistachio Cake
When it comes to whipping up a delightful Flourless Orange Pistachio Cake, the ingredients play a crucial role in delivering that zesty, nutty flavor. Here’s what you’ll need:
For the Cake
- 2 cups Almond Flour: This serves as the base for the cake, bringing both flavor and texture. If you're out of almond flour, just substitute with more almond flour!
- 2 Whole Oranges: Use them whole—simmering will soften the skins, making them easy to blend and full of flavor.
- 0.5 cups Honey: This natural sweetener adds moisture and a hint of floral sweetness. Prefer something less sweet? Maple syrup works just as wonderfully!
- 4 Large Eggs: Fresh eggs provide the binding necessary for this cake, ensuring it rises beautifully.
- 1 teaspoon Baking Soda: Essential for that light, airy texture.
- 1 cup Ground Pistachios: These nutty gems add rich flavor and color; walnuts or hazelnuts can be a tasty substitute!
- 1 teaspoon Vanilla Extract: Enhances the overall flavor profile.
For the Glaze
- 0.5 cups Fresh Orange Juice: A perfect addition for a glossy, zesty finish that brings everything together.
Feeling inspired? You might also want to check out this guide on the benefits of almond flour for some extra health tips!
Step-by-step preparation for Flourless Orange Pistachio Cake
Simmer the oranges
To kick off your journey to making the Flourless Orange Pistachio Cake, the first step is simmering the oranges. Take two whole oranges and rinse them under cold water. Once clean, place them in a saucepan and cover them with water. Set the heat to medium and allow the oranges to simmer for about an hour. This step not only softens the peels for blending but also infuses the cake with a rich orange flavor. Trust me; the aroma will fill your kitchen in no time!
Blend the ingredients
After the oranges have simmered and cooled a bit, it's time to blend! Drain the softened oranges and toss them into your blender. Blend them until you have a beautifully smooth mixture. The goal here is to achieve a consistent texture that will become the flavorful base of your cake.
Preheat the oven
While you’re blending, it's the perfect moment to preheat your oven to 350°F (175°C). This way, your oven will be ready to go as soon as your batter is mixed. Plus, greasing a 9-inch springform pan at this point can streamline your workflow—after all, we want to avoid any sticky situations later on!
Mix the batter
In a mixing bowl, combine your blended oranges with another essential ingredient list: half a cup of honey, four large eggs, two cups of almond flour, one teaspoon of baking soda, one cup of ground pistachios, and a teaspoon of vanilla extract. Use a whisk or spatula to mix these ingredients into a velvety batter. Make sure you mix until completely smooth—nobody wants a lumpy cake!
Bake the cake
Now for the exciting part! Pour your batter into the prepared springform pan and transfer it to the oven. Bake for approximately an hour. Keep an eye on it, since every oven is different! If the top of the cake starts to brown too much, simply cover it with aluminum foil.
Prepare the glaze
While the cake bakes, use this downtime to prepare a simple glaze that will complement your Flourless Orange Pistachio Cake beautifully. In a small saucepan, combine half a cup of fresh orange juice with a bit of honey and simmer it over low heat. Stir occasionally until it reduces by half, creating a glossy glaze that will enhance the cake's flavor.
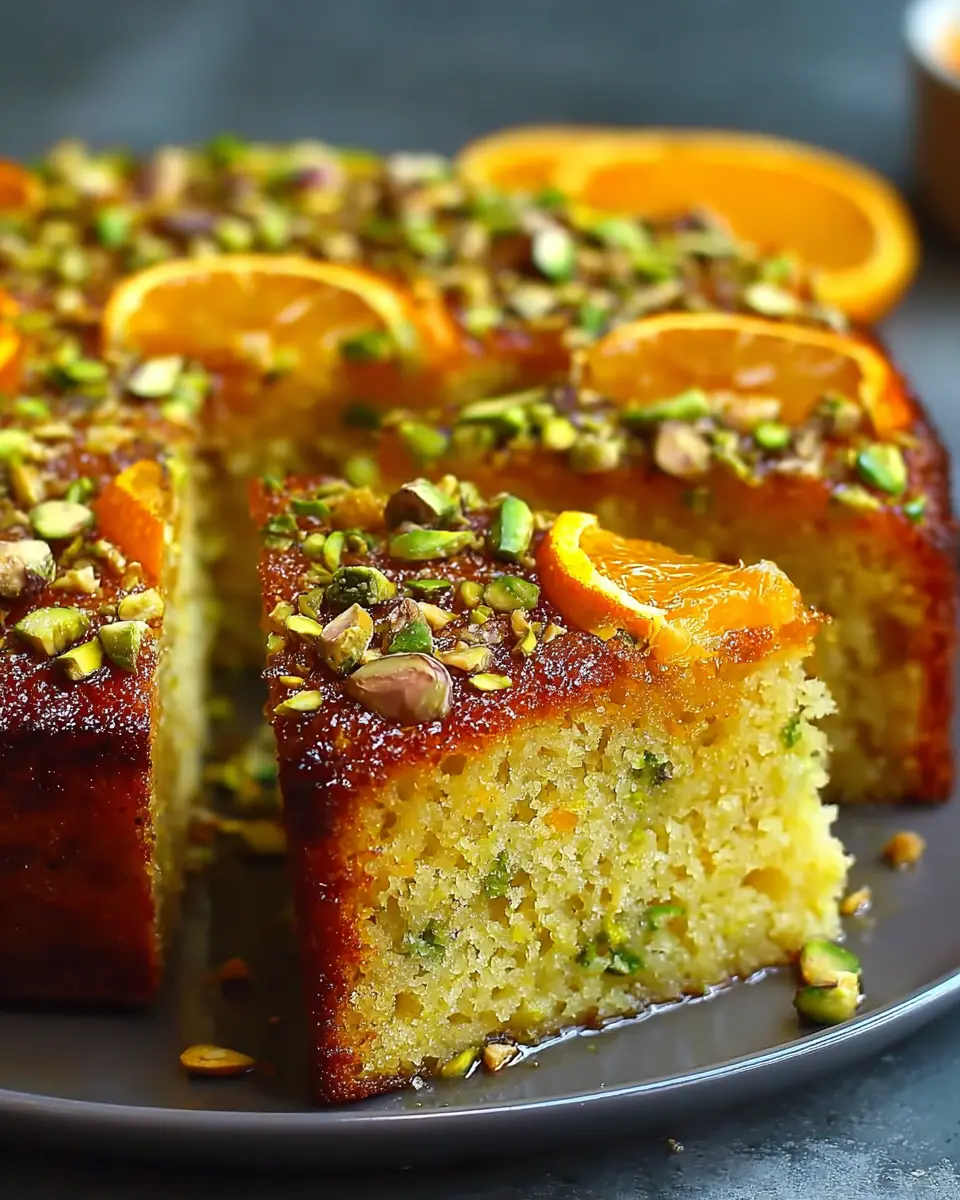
Cool and serve
Once your cake has finished baking, allow it to cool in the pan for about 15 minutes before transferring it to a cooling rack. After it’s completely cool, drizzle your homemade glaze on top, and your cake is ready to be served!
Consider adding a dollop of whipped cream or some fresh berries for that extra flair. Your friends and family will be thrilled by this delightful treat! Enjoy every bite of your zesty, nutty dream!
Variations on Flourless Orange Pistachio Cake
Substituting Nuts
One of the best aspects of the Flourless Orange Pistachio Cake is its versatility. If pistachios aren't your favorite or you have an allergy, you can easily swap in other nuts. Consider using walnuts for a richer flavor, or hazelnuts for a slightly sweet, buttery touch. Just remember to grind them to a similar consistency to maintain the cake’s texture. Got a nut allergy? Pumpkin seeds can be a great alternative!
Citrus Alternatives
While oranges bring a unique zest, experimenting with different citrus fruits can elevate your Flourless Orange Pistachio Cake even further. Try using lemons for a bright, tangy vibe or grapefruits for a subtle bitterness that complements the sweetness of the cake. Always adjust the sweetness accordingly, as grapefruits can be tart. Be adventurous and find your favorite flavor profile!
Cooking Tips for Flourless Orange Pistachio Cake
The Flourless Orange Pistachio Cake is as delicious as it is simple to make! Start by ensuring your oranges are ripe and fragrant, as this will amplify the cake’s citrus flavor. While simmering the oranges, keep an eye on the water level to avoid burning. When blending, look for a smooth, creamy texture for the batter—this will help the cake rise beautifully. If you're new to baking, consider using a kitchen scale for the almond flour and pistachios to ensure precision. Finally, let the cake cool completely before glazing to achieve that perfect finish. Happy baking!
Serving Suggestions for Flourless Orange Pistachio Cake
When it comes to enjoying your Flourless Orange Pistachio Cake, the choices are endless! Here are some delightful serving suggestions to elevate this zesty, nutty dream:
-
Whipped Cream: A dollop of freshly whipped cream complements the cake’s citrusy flavor perfectly. Consider adding a splash of vanilla for an extra layer of taste.
-
Fresh Berries: Top your cake with vibrant berries like raspberries or blueberries. Not only will they enhance the presentation, but they also offer a refreshing counterpoint to the richness of the cake.
-
Syrup Glaze: Drizzle the cake with a honey-orange syrup for a sweet finish. Simply reduce honey and fresh orange juice until thick and glossy.
Feel free to explore different flavor combinations to create the perfect slice for any occasion! Discover more about pairing desserts with complementary flavors here.
Time breakdown for Flourless Orange Pistachio Cake
Preparation time
In just 15 minutes, you can gather all your ingredients and prep the cake for its zesty journey. A quick rinse and simmering of the oranges will have your kitchen smelling delightful in no time!
Cooking time
Baking this Flourless Orange Pistachio Cake takes about 1 hour. It’s crucial to keep an eye on it, as ovens can vary. You want that golden top without burning!
Total time
From start to finish, including cooling, you’re looking at roughly 1 hour and 45 minutes. Perfect for a weekend baking session! Why not make it a fun activity with a friend? Enjoy the process!
For more cake inspiration, check out BBC Good Food for additional creative dessert ideas!
Nutritional Facts for Flourless Orange Pistachio Cake
Calories per slice
Each slice of Flourless Orange Pistachio Cake comes in at approximately 250 calories. Perfect for those seeking a sweet treat without straying too far from their nutritional goals!
Key nutrients
This cake is not just delicious; it’s packed with beneficial nutrients, including:
- 5g of protein: Great for muscle repair and overall health.
- 18g of healthy fats: Most of which come from the pistachios and almond flour, contributing to heart health.
- 3g of fiber: Aiding in digestion and keeping you feeling full longer.
- Vitamin C: With around 30mg per serving, it helps boost your immune system.
This cake beautifully marries flavor and nutrition, making it a guilt-free indulgence. Want to learn more about the health benefits of almonds or pistachios? Check out NutritionData for in-depth insights!
FAQs about Flourless Orange Pistachio Cake
Can I make it ahead of time?
Absolutely! This Flourless Orange Pistachio Cake can be made a day or two in advance. Just ensure it’s cooled completely before storing it in an airtight container. Its flavors actually deepen and improve as it sits, enhancing that beautiful citrus and nutty harmony.
What can I substitute for honey?
If honey isn't your preference, you can easily swap it out for maple syrup or a sugar alternative like agave nectar. Both options will maintain the cake's moistness while offering a unique flavor twist. If you prefer less sweetness, feel free to reduce the amount slightly.
How should I store leftovers?
To keep your leftover Flourless Orange Pistachio Cake fresh, store slices in an airtight container in the refrigerator for up to a week. You can also freeze individual slices — just wrap them well in plastic wrap followed by aluminum foil. When you're ready to enjoy, simply thaw overnight in the refrigerator for the best texture.
If you're interested in more delicious gluten-free options, check out this gluten-free baking guide, which can elevate your baking game!
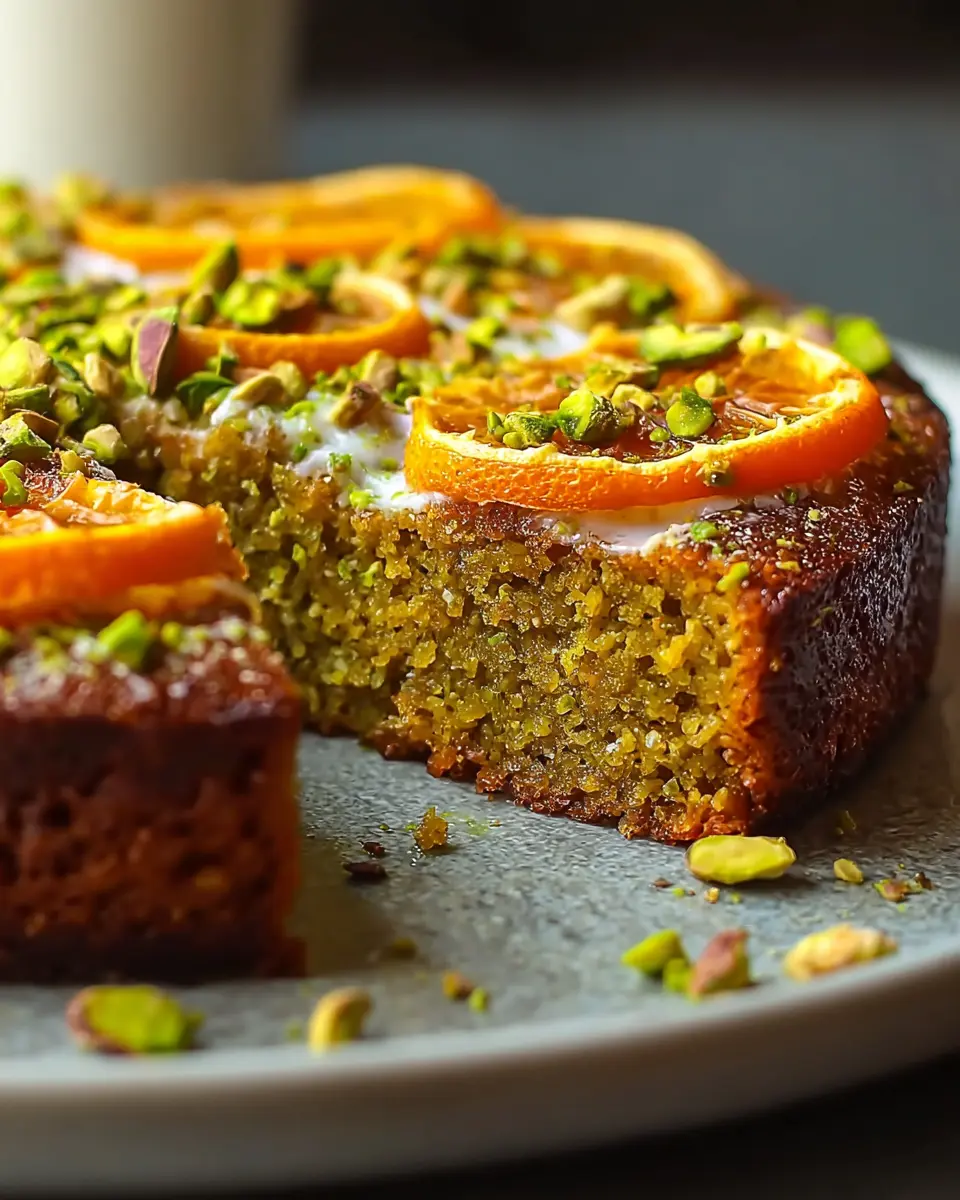
Conclusion on Flourless Orange Pistachio Cake
This Flourless Orange Pistachio Cake is an absolute game-changer that beautifully marries citrus and nut flavors. With its simple preparation and delightful taste, it’s perfect for any occasion. Whether you're gluten-free or not, this cake will impress everyone at your table. Enjoy each bite!
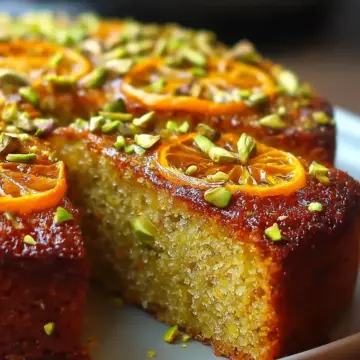
Flourless Orange Pistachio Cake: A Zesty, Nutty Dream!
Equipment
- Blender
- 9-inch springform pan
- Saucepan
Ingredients
For the Cake
- 2 cups Almond Flour Substitute with more almond flour if pistachios are unavailable.
- 2 whole Whole Oranges Simmering softens the peels.
- 0.5 cups Honey Swap with maple syrup if less sweetness is desired.
- 4 large Large Eggs Fresh eggs ensure proper binding.
- 1 teaspoon Baking Soda
- 1 cups Ground Pistachios Feel free to use walnuts or hazelnuts.
- 1 teaspoon Vanilla Extract
For the Glaze
- 0.5 cups Fresh Orange Juice Perfect for a glossy finish.
Instructions
How to Make Flourless Orange Pistachio Cake
- Simmer Oranges: Rinse and place whole oranges in a pot covered with water. Simmer for about an hour until the peels are tender enough to blend smoothly.
- Blend Until Smooth: After draining, add the softened oranges to a blender and blend until smooth.
- Preheat the Oven: Set your oven to 350°F (175°C) and grease a 9-inch springform pan.
- Mix Ingredients: In a mixing bowl, combine the blended oranges, honey, eggs, almond flour, ground pistachios, baking soda, and vanilla. Stir until smooth.
- Bake the Cake: Pour the batter into the prepared pan and bake for about 1 hour. Cover with foil if the top browns too quickly.
- Prepare the Glaze: Simmer honey and fresh orange juice together until reduced by half. Cool before glazing the cake.
- Cool and Serve: Allow the cake to cool completely before removing it from the pan.

Leave a Reply