
Introduction to Japanese Egg Sando
The allure of Japanese convenience store foods
If you’ve ever wandered the aisles of a Japanese convenience store, you know there’s a special kind of magic that surrounds these curated ready-to-eat meals. From onigiri to fluffy pastries, every bite tells a story of simplicity and care. Among them, the Japanese Egg Sando (Tamago Sando) stands out with its comforting flavors and textures. This sandwich embodies the essence of Japanese culinary perfection: it’s delicious, filling, and incredibly easy to enjoy on the go. Curious about how something so simple can make such a delightful meal? You’re not alone!
To explore more about the impact of convenience store culture on Japanese dining, check out this insightful piece from Japan Travel.
A love letter to the Egg Sando
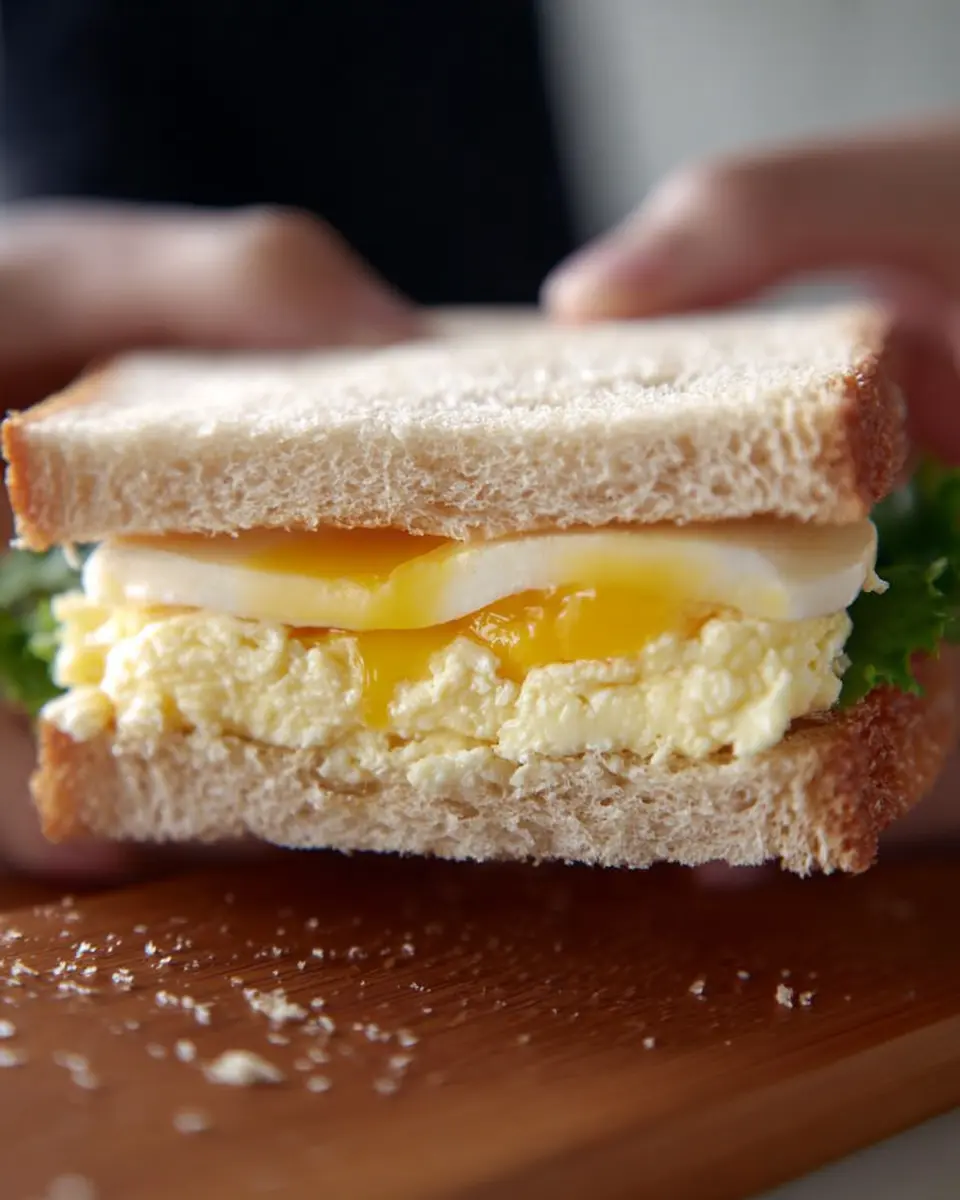
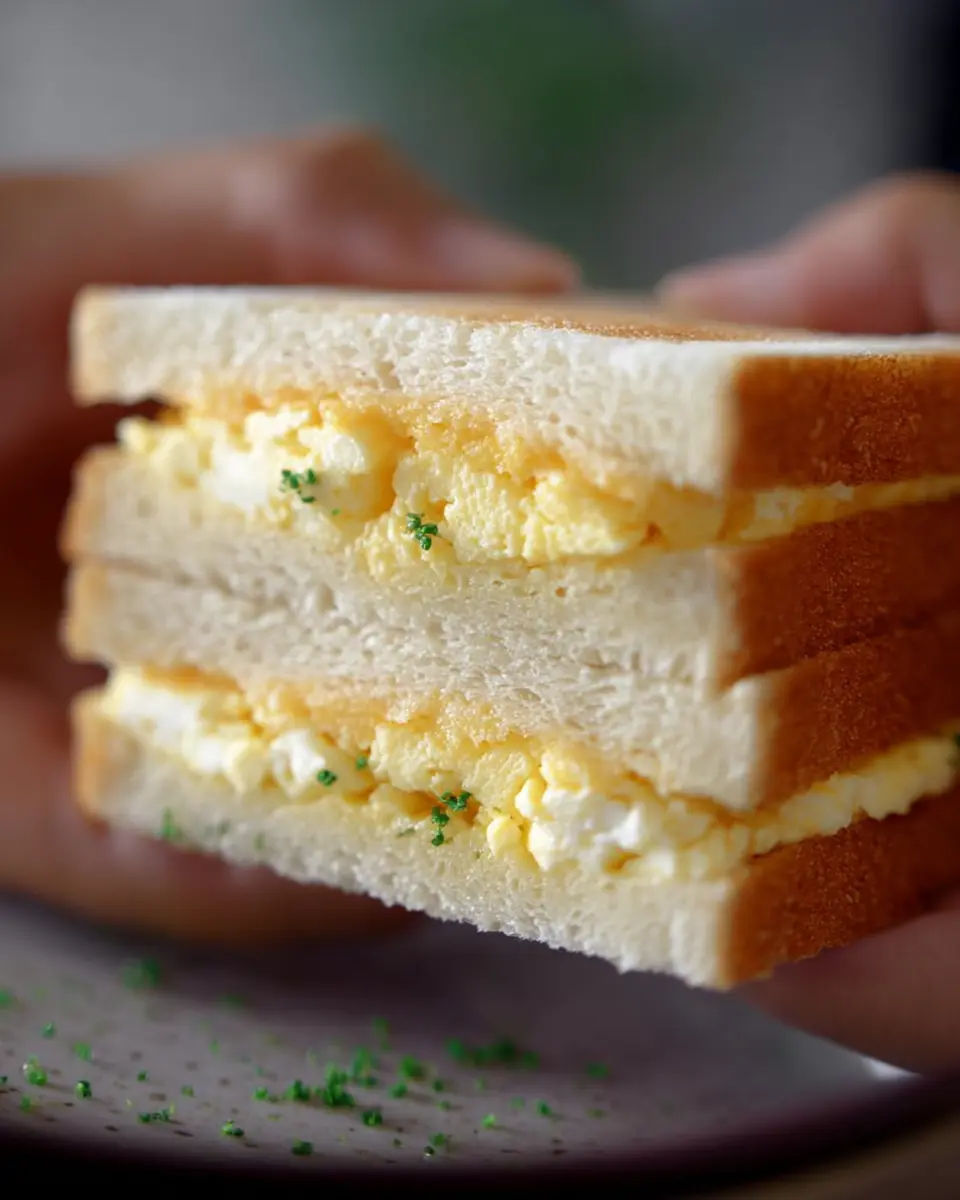
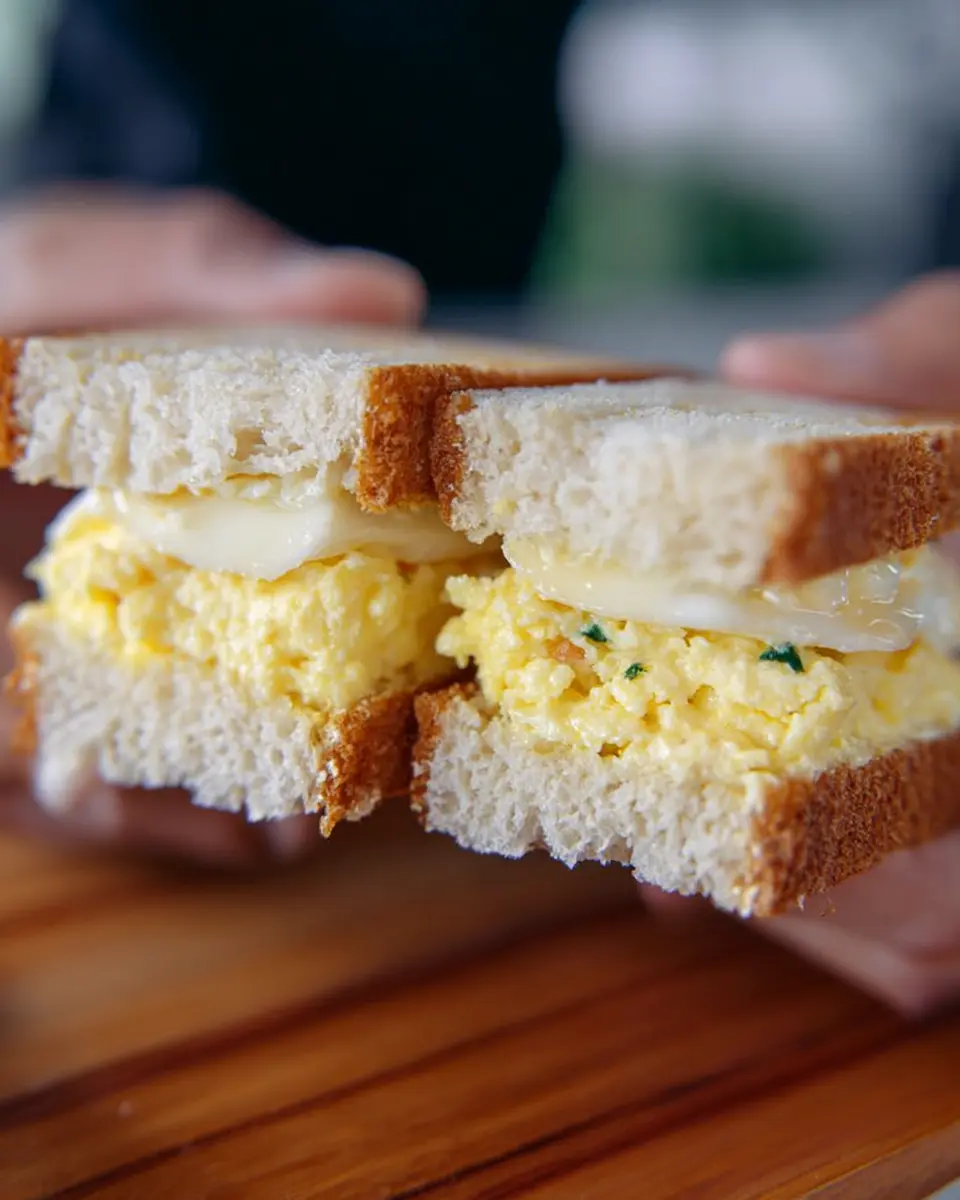
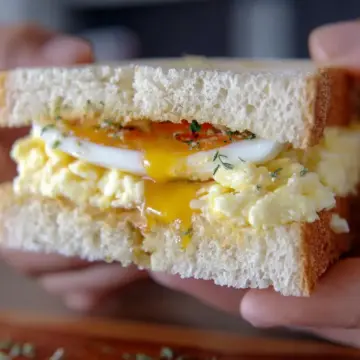
Think of the Japanese Egg Sando as a fluffy pillow of joy. It features a creamy egg filling made from perfectly boiled eggs mixed with Kewpie mayonnaise—this adds a unique and rich flavor. Sandwiched between slices of soft Japanese milk bread, this snack gives you that unbeatable combination of texture and taste. Imagine taking a bite, experiencing the delicate crunch of the crust (if you choose to keep it) and the smoothness of the filling. It's no wonder people rave about it!
Whether you're looking for a quick breakfast, a satisfying lunch, or a late-night snack, the egg sando checks all the boxes. Get ready to indulge yourself in this delightful treat that feels just as good homemade as it does fresh from a store!
Ingredients for Japanese Egg Sando
Key Ingredients and Their Roles
Creating the perfect Japanese Egg Sando begins with a few key ingredients that deliver rich flavor and texture:
- Eggs: The star of the show, they provide creaminess and protein.
- Milk: This adds moisture, making the egg salad velvety.
- Japanese Kewpie Mayonnaise: This unique mayo adds a tangy sweetness that elevates the entire dish.
- Salt and Pepper: Basic seasonings that enhance flavors and balance the richness.
- Sugar: A pinch contrasts with the savory notes, rounding out the flavor profile.
- Nutmeg (optional): A hint of warmth to surprise your palate.
These components work together harmoniously to create the classic creamy filling that we all crave!
Special Note on Japanese Kewpie Mayonnaise
One ingredient worth highlighting is Kewpie mayonnaise. Distinctive for its creamy texture and umami flavor, this Japanese mayo is a game-changer. Unlike regular mayonnaise, Kewpie uses rice vinegar and egg yolks for a richer taste. If you haven't tried it yet, you’re in for a delightful culinary experience! It's available at most Asian grocery stores or online. For more on Kewpie, check out Serious Eats for their overview of this delicious condiment.
Preparing Japanese Egg Sando
Creating a delicious Japanese Egg Sando is both an art and a science. With its creamy filling and fluffy texture, this sandwich is a fantastic option for busy young professionals looking for a satisfying meal. Let’s break down the preparation process into easy-to-follow steps!
Boiling the eggs perfectly
The foundation of any great egg sandwich is perfectly boiled eggs. Start by filling a 3 to 5-quart pot halfway with water and bringing it to a rolling boil. Once you have a good boil, carefully lower your eggs in, one at a time, using a spoon to avoid cracking. This technique is key! Cover the pot, turn off the heat, and set your timer for about 12-15 minutes. The exact time depends on how you like your yolks—12 minutes will give you a creamy texture, while 15 will get you a firmer yolk.
Curious about more egg boiling techniques? Check out this egg cooking resource.
Cooling and peeling the eggs
Once your eggs are cooked to perfection, it’s time for a quick cooling down! Transfer them to an ice bath (which you can easily make with a bowl of ice and cold water) for at least one minute. This stops the cooking process and makes peeling a breeze. When they’re cool enough to handle, tap them gently on a hard surface to crack the shell and peel away. The fresher the eggs, the easier they tend to peel, so keep this in mind when selecting your eggs.
Mashing and mixing the egg filling
For a delightful and velvety filling, place your peeled eggs in a bowl and mash them gently with a fork. You can also use an egg slicer for quicker results—just be careful not to overdo it! Mix the mashed eggs with Kewpie mayonnaise, milk, salt, pepper, sugar, and an optional pinch of nutmeg for extra flavor. Each ingredient plays a role in creating the Japanese Egg Sando’s signature taste, so adjust according to your preferences!
Are you looking for the best mayonnaise for your sandwiches? Dive into this mayonnaise comparison.
Assembling the sandwiches
Now comes the fun part! Take your delicious egg mixture and spread it generously onto a slice of Japanese milk bread or your preferred bread. Butter one side of the bread for added moisture and flavor. Place another slice on top, then cut off the crusts for that classic sandwich look. Halve the sandwiches and revel in their beauty!
Final touches before serving
To serve your Japanese Egg Sando like a pro, consider placing them in an airtight container if you’re not eating them right away. You can keep them in the fridge for 2-3 days, but I recommend indulging in them fresh if you can. A light sprinkle of fresh herbs or even a dusting of chili flakes can take it to the next level if you’re feeling adventurous.
Creating this delightful culinary experience at home will surely have you feeling like you just stepped into a cozy Japanese convenience store. Enjoy every bite!
Variations on Japanese Egg Sando
Adding Lunch Meat Like Chicken Ham
For a delicious twist on the classic Japanese Egg Sando, consider adding Chicken Ham. This not only elevates the protein content but also introduces a savory depth to each bite. Simply layer a slice or two between the creamy egg filling and the soft bread before cutting the crusts off. This variation is perfect for those busy mornings when you crave something filling and flavorful. Plus, the combination of flavors will remind you of the delightful convenience store treats you might find in Japan.
Veggie Options for a Refreshing Twist
If you're looking for a lighter take, try incorporating fresh veggies into your Japanese Egg Sando. Thinly sliced cucumbers, avocados, or radishes add a crunchy texture that beautifully contrasts with the creamy egg salad. You can even add a sprinkle of sesame seeds or a drizzle of soy sauce for an extra zing. These veggie options not only make your sandwich more colorful but also boost its nutritional value, making it a perfect lunch option.
Cooking Notes for Japanese Egg Sando
Tips for Perfecting Your Egg Salad
To achieve a creamy and smooth egg salad for your Japanese Egg Sando, consider mashing your eggs using a fork or an egg slicer, as this will provide the best consistency. Feel free to adjust the seasoning; a touch more mayonnaise or a pinch of sugar can elevate the flavors significantly. For an extra depth of taste, try adding a dash of soy sauce or a sprinkle of chives!
Storing Leftovers Correctly
If you find yourself with leftover Japanese Egg Sando, store them in an airtight container in the refrigerator. They should stay fresh for 2-3 days. However, to maintain the texture of the bread, it’s best to consume them within the first day. For longer storage, consider making the egg salad ahead of time and assemble the sandwiches just before you serve.
You can explore more about egg-based recipes at Serious Eats for tips and tricks!
Serving suggestions for Japanese Egg Sando
Pairing your Sando with delicious sides
To elevate your Japanese Egg Sando, consider serving it alongside a refreshing cucumber salad or a bowl of miso soup. These options add crunch and warmth, making for a balanced meal. For an extra treat, try pairing your sandwich with pocky or some seasonal fruit like strawberries or mandarin oranges for a sweet finish.
Ideal occasions for enjoying Egg Sando
The versatility of Japanese Egg Sando makes it perfect for various occasions. Enjoy it as a quick breakfast before work, a leisurely weekend lunch with friends, or a late-night snack while binge-watching your favorite series. Its delightful simplicity and creamy texture also make it an ideal option for picnics or brunch gatherings.
For a deeper dive into Japanese cuisine and culture, check out Nippon.com for inspiration!
Time Breakdown for Japanese Egg Sando
Preparation Time
About 15 minutes is all you need to get everything ready. From boiling those eggs to mixing the creamy filling, it’s a quick and satisfying process.
Cooking Time
Once the eggs are in the water, you can step away for about 12 to 15 minutes. Make sure to keep an eye on the timer for perfect yolks!
Total Time
In roughly 30 minutes, you can enjoy a delightful Japanese Egg Sando. It’s the ideal snack, whether you're craving breakfast on the go or a late-night treat. For more on egg sandwich variations, check out Food52.
Nutritional Facts for Japanese Egg Sando
Calories
A serving of our delicious Japanese Egg Sando contains approximately 250-300 calories, making it a satisfying yet light snack that's perfect for any time of day.
Protein
Loaded with protein, each sandwich provides around 12-15 grams. This makes it an excellent option for boosting your energy levels, perfect for those busy workdays or weekend brunches.
Sodium
Be mindful of sodium intake! Each Japanese Egg Sando typically has about 400-500 mg of sodium, mainly sourced from the Kewpie mayonnaise and seasoning. It's worth keeping an eye on if you're watching your salt consumption.
For more insights into nutrition, check out the USDA FoodData Central for a comprehensive look at food ingredients.
FAQs about Japanese Egg Sando
Can I use regular mayonnaise instead of Kewpie?
While regular mayonnaise can work in a pinch, Kewpie mayonnaise is what gives the Japanese Egg Sando its distinct flavor and creaminess. Kewpie is made with egg yolks and has a slightly sweeter and richer taste. If you can't find it, try adding a pinch of sugar and a dash of rice vinegar to regular mayonnaise to get a bit closer to that unique flavor.
How can I ensure my eggs aren't overcooked?
To prevent overcooking, the best method is to remove the pot from heat as soon as the water reaches a boil and then cover it. Set a timer for 12-15 minutes, depending on your desired yolk consistency. A quick ice bath after boiling stops the cooking process immediately, ensuring your yolks remain perfectly creamy instead of chalky.
What's the best way to serve and store leftovers?
Serve your Japanese Egg Sando fresh for the best texture! However, if you have leftovers, store them in an airtight container in the refrigerator for up to 2-3 days. When you're ready to enjoy them again, you can eat them cold or briefly reheat in a toaster oven for a bit of warmth. Just remember to cut off the crusts for that classic presentation!
For more tips on making the perfect egg sandwich, check out this guide on egg cooking techniques.
Conclusion on Japanese Egg Sando
Celebrate homemade simplicity with Egg Sando
In a world where convenience often overshadows quality, the Japanese Egg Sando offers a reminder of the joy found in homemade simplicity. With just a few ingredients, you can create a delicious, creamy snack that satisfies any craving. Make it your own, and enjoy!
For even more culinary inspiration, check out Serious Eats for additional egg recipes or dive into the history of Japanese cuisine at Japan National Tourism Organization. Happy cooking!
Japanese Egg Sando
Equipment
- Pot
- bowl
- fork
- Egg Slicer
Ingredients
Egg Mixture
- 3 teaspoons milk
- 3 tablespoons Japanese Kewpie mayonnaise
- ½ teaspoon salt
- ¼ teaspoon freshly ground black pepper
- ½–1 teaspoon sugar start with ½
- Pinch grated nutmeg optional
Bread
- 8 slices Japanese milk bread or white bread
- Salted butter for spreading
Instructions
Preparation Steps
- Fill a 3 to 5 quart pot halfway with water and bring to a boil. One at a time, use a spoon to gently lower the eggs into the boiling water so they don’t crack. Cover the pot, turn off the heat, and set the timer for 12-15 minutes for yolks that are set but not chalky; adjust time for desired doneness.
- When the eggs are done, transfer them to an ice bath for at least 1 minute.
- Crack and peel the eggs. Transfer them to a bowl and mash with a fork or use an egg slicer. Mashing will get you a smoother consistency, and an egg slicer is faster.
- Combine milk, mayonnaise, salt, pepper, sugar and nutmeg with the eggs and mix gently. Taste, and adjust accordingly.
- To assemble your sandwiches, butter one side of one slice of bread and spread the egg salad mixture on the other slice.
- Place buttered bread on top, cut the crusts off, and halve the sandwiches.
- Serve immediately or keep them in an airtight container in the refrigerator for 2-3 days.


Leave a Reply