
Introduction to Pickled Red Onions
Why Pickled Red Onions Are a Game-Changer for Your Meals
Have you ever found yourself craving that extra something to elevate your meals? Enter pickled red onions. These vibrant, tangy delights not only taste amazing but also add a stunning visual flair to your dishes. Perfect for young professionals looking to jazz up their lunch or dinner, these pickled beauties can be your secret weapon for transforming everyday meals into gourmet experiences.
Imagine adding pickled red onions to a fresh salad, a turkey bacon sandwich, or even your favorite burger. They bring a sweet and sour kick that complements various flavors beautifully. Plus, they’re incredibly easy to make at home! You can whip up a batch in just about ten minutes and keep them in your fridge for up to two weeks.
Regularly incorporating pickled red onions into your diet could also offer health benefits, as red onions are rich in antioxidants and vitamins. If you're curious about the science behind it, check out reputable sources like Healthline on the benefits of onions. So, why not give them a try? As you’ll see in our full recipe, creating these delicious toppings is as simple as slice, soak, and store. Your meals will never be the same!

Ingredients for Pickled Red Onions
Essential ingredients for the perfect pickle
Creating pickled red onions is wonderfully simple! You'll need just a handful of essential ingredients to craft this vibrant condiment. Here’s what you’ll need:
- 2 small red onions: These will provide that signature color and bite.
- 2 cups white vinegar: Acts as the primary pickling agent, bringing the tangy flavor.
- 2 cups water: Balances the acidity for a smooth taste.
- ⅓ cup cane sugar: Adds a touch of sweetness to complement the onions' natural sharpness.
- 2 tablespoons sea salt: Enhances flavor and helps with the pickling process.
These ingredients come together quickly and yield a delicious, crunchy topping for everything from tacos to turkey bacon sandwiches.
Optional add-ins to elevate flavors
Want to take your pickled red onions to the next level? Consider these delightful optional add-ins:
- 2 garlic cloves: Infuse a savory depth that pairs beautifully with the sweetness.
- 1 teaspoon mixed peppercorns: Add some spice and a pop of complexity.
These extras aren’t necessary but can elevate your pickles with exciting new flavors. For more ideas on enhancing pickled vegetables, check out resources like the National Center for Home Food Preservation for great tips!
Preparing Pickled Red Onions
Creating pickled red onions in your kitchen is not only simple but also incredibly rewarding. These vibrant onions can elevate your salads, sandwiches, and even tacos in a way that adds a kick of flavor. Here's a friendly guide to help you through the process!
Gather your equipment
Before diving into the delicious world of pickling, you’ll first want to ensure you have everything at your fingertips. Here's what you’ll need:
- 10-oz. Mason Jars: These are perfect for storing your pickled red onions.
- Mandoline: This handy tool will make slicing the onions a breeze, ensuring you get perfectly thin pieces.
- Medium Pot: For heating your pickling mixture, a standard medium pot does the job well.
Having your equipment ready makes the process smoother and more enjoyable. Plus, it gives you that feeling of being a pro in the kitchen!
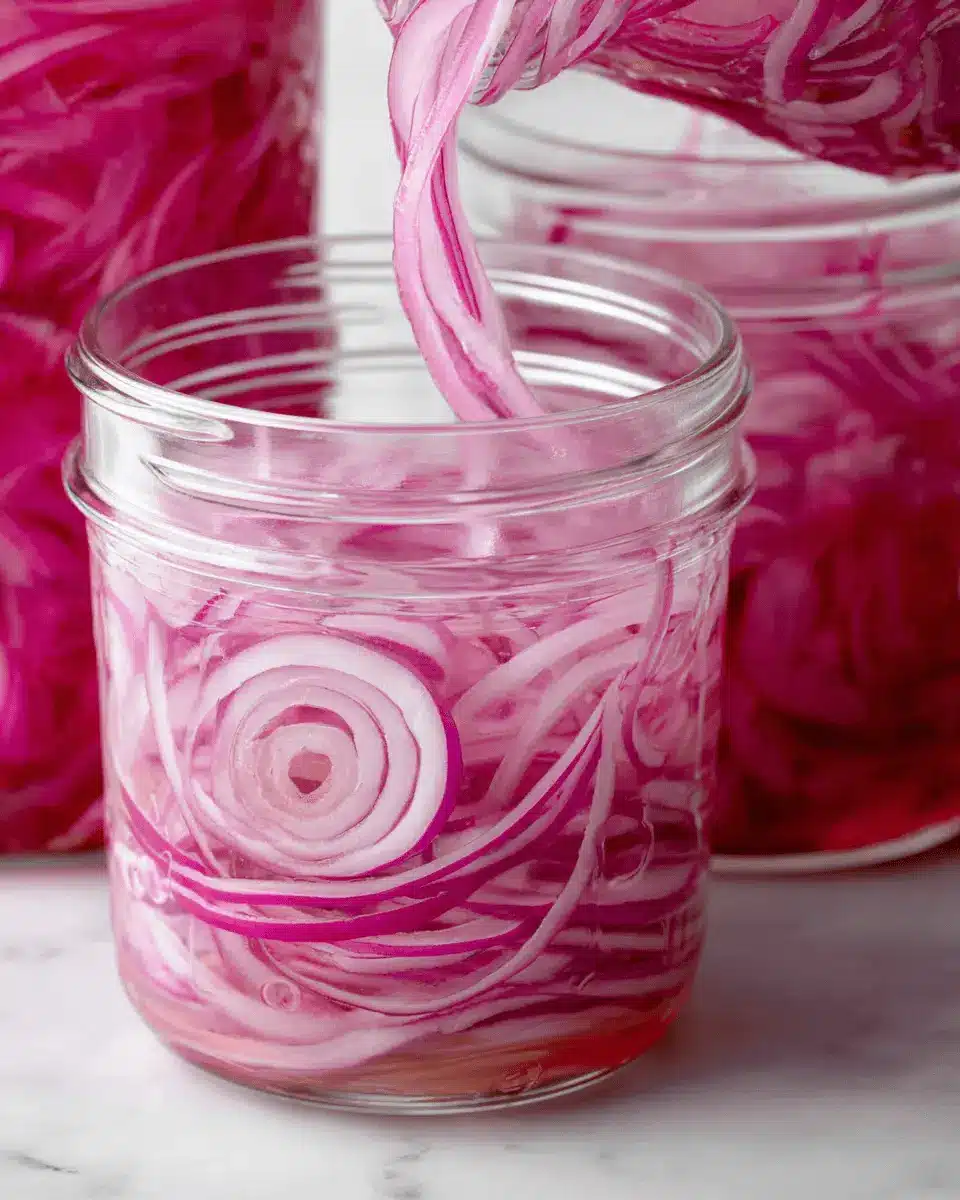
Slice the onions with a mandoline
Now, onto the onions! Take your red onions and slice them thinly using the mandoline. If you’ve never used one before, be careful with your fingers—you can easily create a finely sliced masterpiece without losing a tip! The ideal thickness is around ⅛ inch, which will allow for quick pickling. As you cut, the vibrant colors and crisp texture of the onions will inspire your culinary creativity!
Prepare the pickling mixture
In your medium pot, combine:
- 2 cups white vinegar
- 2 cups water
- ⅓ cup cane sugar
- 2 tablespoons sea salt
Heat this mixture over medium heat, stirring gently until the sugar and salt dissolve completely—this usually takes about a minute. For an extra flavor boost, consider adding optional ingredients like 2 crushed garlic cloves or 1 teaspoon of mixed peppercorns. These will deepen the pickled red onions' flavor profile, making each bite more complex and enjoyable.
If you're interested in the health benefits of vinegar, check out this healthline article.
Combine everything in the jars
Once your pickling mixture has cooled slightly, it’s time to assemble! Divide the sliced onions into your jars, and if you chose to include them, add the garlic and peppercorns. Next, pour the pickling liquid over the onions, ensuring they’re fully submerged. Leave a little headspace at the top for expansion.
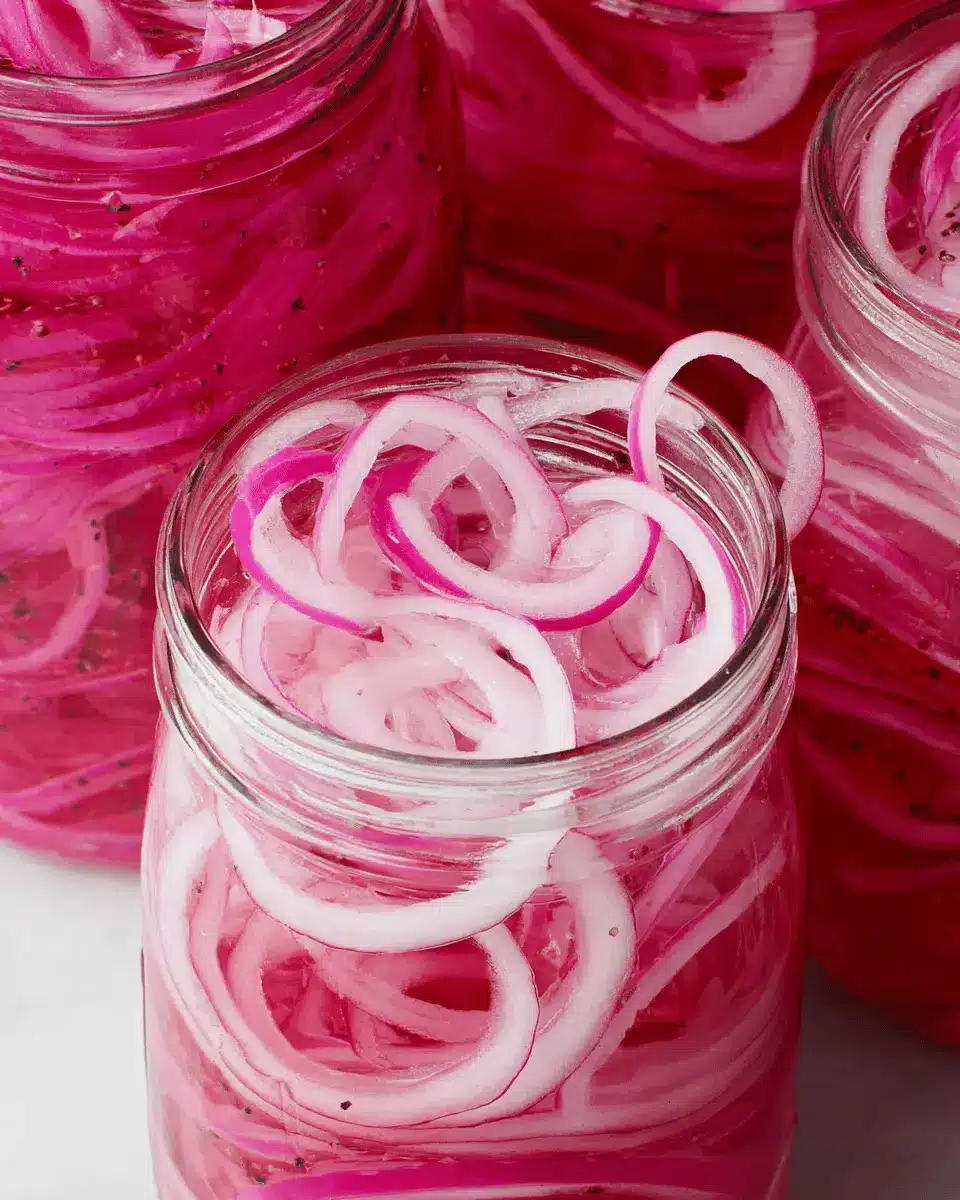
Cool and store your pickled onions
After combining everything, let your jars cool to room temperature. Once they’re cool, simply seal them and pop them into the fridge.
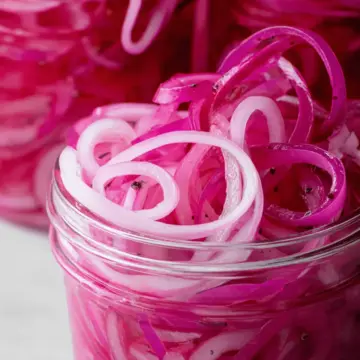
Your pickled red onions will be ready to enjoy in about one hour for the thinnest slices or overnight for thicker slices. And with the promise to last up to two weeks in the fridge, you’ll have plenty of time to experiment with flavors and dishes!
Want to try more delicious ways to use your pickled red onions? Consider tossing them on a turkey bacon sandwich or mixing them into a fresh salad. Happy pickling!
Variations on Pickled Red Onions
Spicy Pickled Red Onions
If you love a kick, try adding some heat to your pickled red onions. Simply toss in a few slices of jalapeño or a teaspoon of red pepper flakes while combining the pickling liquid. For those who prefer a Mexican twist, consider infusing lime juice with the vinegar for an extra zesty flavor. The result? A tangy, fiery condiment that livens up tacos, grilled meats, or even salads!
Sweet and Savory Pickled Red Onions
Looking for something with a bit more depth? Balance the acidity with additional sweetness by incorporating a splash of maple syrup or agave nectar into the brine. This variation pairs beautifully with roasted vegetables or on a hearty sandwich featuring turkey bacon and chicken ham. These sweet and savory pickled red onions add a unique flair to any dish, making meal prep both fun and delicious! For expert tips on flavor balancing, check out this culinary guide.
Cooking tips and notes for Pickled Red Onions
Ensuring the perfect crunch
For pickled red onions that maintain that satisfying crunch, be sure to slice your onions thinly and evenly—using a mandoline can help achieve this with ease. It's also best to store them in the refrigerator as soon as they cool, which halts the pickling process slightly, preserving that delightful texture.
Tips for adjusting flavor to your taste
Get creative with your pickled red onions! If you prefer a spicier kick, consider adding a pinch of red pepper flakes or some sliced jalapeños. And for those who enjoy a sweeter profile, gradually increase the sugar to find your ideal balance. Don’t be afraid to experiment—your taste buds will thank you! For more variations, check out this great resource on pickling flavors.
Serving suggestions for Pickled Red Onions
Elevating salads and sandwiches
Pickled red onions are a game changer for salads and sandwiches! Try adding them to a simple green salad to introduce a delightful crunch and zesty flavor. They’re also perfect for stacking on turkey bacon or chicken ham sandwiches, providing a bright contrast to richer ingredients. Want a refreshing twist on your classic meal? Toss them into wraps or grain bowls for an instant upgrade!
Ideas for serving with main dishes
Looking to enhance your dinner experience? Serve pickled red onions alongside grilled chicken or beef tacos, where their tanginess complements the smoky flavors beautifully. They’re equally fantastic as a garnish for spicy curry or stir-fries. For a fun dinner party, pair them with roasted veggies or grilled fish, offering guests a splash of color and flavor that’s hard to resist.
Discover more delicious ways to use pickled red onions at Bon Appétit or Serious Eats for a treasure trove of recipes!
Time Breakdown for Pickled Red Onions
When it comes to preparing delicious pickled red onions, time is on your side! Here’s how it breaks down:
Preparation Time
Get started with just 5 minutes for slicing those vibrant onions and gathering your ingredients. A mandoline can be your best friend here, making those thin cuts a breeze!
Cooking Time
After slicing, heat up your vinegar mixture for about 5 minutes. Just stir until the sugar and salt dissolve, and you'll be ready to pour it over the onions.
Total Time
In a swift 10 minutes, you’ll have your pickled red onions prepped and cooling, ready to enhance any dish in your refrigerator. Serve them as a delightful garnish on salads or sandwiches after just an hour of waiting, or let them marinate overnight for a real flavor explosion! For more tips on pickling, check out The Kitchn's guide on basics.
Don’t you love how quick and easy it is? Your taste buds will thank you!
Nutritional Facts for Pickled Red Onions
Calories
In each serving of pickled red onions, you’ll find approximately 30 calories. Not bad for a condiment that brings such a delightful zing to your meals! Incorporating these vibrant onions is an easy way to add flavor without a hefty calorie count.
Sugar Content
The sweetness from the cane sugar used in the pickling process yields about 7 grams of sugar per serving. This sugar mostly comes from the ⅓ cup of cane sugar, but you’ll find that the tang of the vinegar balances it out beautifully.
Sodium Levels
Each serving of pickled red onions contains around 300 mg of sodium, largely deriving from the sea salt. While this is something to keep in mind, especially if you’re watching your salt intake, the vibrant pop of flavor they bring to dishes is worth the trade-off!
For more nutritional insights, you can check out resources like USDA Nutritional Data.
FAQs about Pickled Red Onions
How long can I store pickled red onions?
You’re in luck! Your pickled red onions can be stored in the fridge for up to two weeks. Just make sure they are fully submerged in the brine for the best flavor and preservation. If they start to lose their vibrant color or develop an off smell, it’s time to toss them.
Can I use other types of onions?
Absolutely! While red onions are popular for their vibrant color and flavor, you can also experiment with white or yellow onions. Each type brings a unique taste profile, so feel free to play around and find your favorite mix! For detailed onion varieties, check out this informative article on different onion types.
What can I pair pickled red onions with?
There are endless possibilities! Try adding them to salads, turkey bacon wraps, or even atop grilled chicken. They also make a fantastic topping for tacos and savory sandwiches. Pair them with creamy avocado or tangy cheese for a delightful contrast! For more pairing ideas, check out this guide on flavor combinations.
Conclusion on Pickled Red Onions
Embrace homemade with pickled red onions in your meals
Incorporating pickled red onions into your dishes can elevate flavors and provide a delightful crunch. Their vibrant color and unique tang make them the perfect addition to gourmet salads, hearty sandwiches, or even tacos. Why not give them a try? You'll be amazed at the difference they can make!
Pickled Red Onions
Equipment
- 10-oz. Mason Jars
- Mandoline
- medium pot
Ingredients
- 2 small red onions
- 2 cups white vinegar
- 2 cups water
- ⅓ cup cane sugar
- 2 tablespoons sea salt
- 2 cloves garlic optional
- 1 teaspoon mixed peppercorns optional
Instructions
- Thinly slice the onions (it's helpful to use a mandoline), and divide the onions between 2 (16-ounce) jars or 3 (10-ounce) jars. Place the garlic and peppercorns in each jar, if using.
- Heat the vinegar, water, sugar, and salt in a medium saucepan over medium heat. Stir until the sugar and salt dissolve, about 1 minute. Let cool and pour over the onions. Set aside to cool to room temperature, then store the onions in the fridge.
- Your pickled onions will be ready to eat once they're bright pink and tender - about 1 hour for very thinly sliced onions, or overnight for thicker sliced onions. They will keep in the fridge for up to 2 weeks.
Leave a Reply