
Introduction to Vanilla Milkshakes
The nostalgic charm of a classic vanilla milkshake
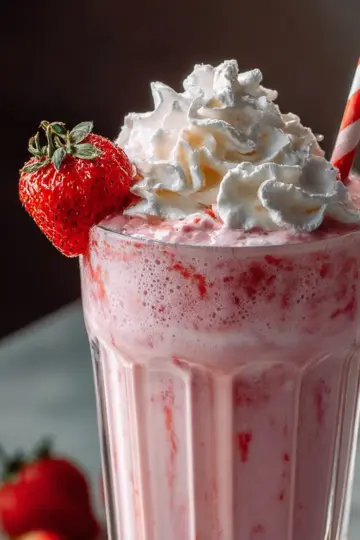
There's something undeniably comforting about a classic vanilla milkshake. It’s like a sweet embrace from childhood, bringing back memories of diners with checkered floors and summer days spent with friends. Did you know that milkshakes date back to the late 19th century? Since then, they have evolved from a simple treat to a beloved staple in many homes.
What makes a vanilla milkshake so special? Perhaps it's the rich creaminess of ice cream blended seamlessly with milk and the hint of vanilla extract. Each sip offers a deliciously smooth experience that can be personalized in countless ways. Whether you enjoy it on a hot afternoon or as a late-night indulgence, this delightful drink holds a unique place in our hearts.
Feeling adventurous? You can mix in chocolate, berries, or even some root beer for a playful twist! Want to dive deeper into the world of milkshakes? Check out this guide for a rich history and fun variations.
So grab your blender, and let’s start whipping up this delightful dessert that promises nostalgia in every spoonful!
Ingredients for Vanilla Milkshakes
The essentials for a creamy milkshake
Creating the perfect vanilla milkshake begins with a few essential ingredients that contribute to its rich texture and delightful flavor:
- 2 cups vanilla ice cream: This is the star of the show! It gives your milkshake its creamy body and sweet vanilla taste.
- 1 cup whole milk: Whole milk adds extra creaminess; however, you can substitute with almond or oat milk if you prefer a dairy-free option.
- 1 teaspoon vanilla extract: Enhances the vanilla flavor and adds depth, making each sip more enjoyable.
These three simple components blend seamlessly to create a classic and satisfying vanilla milkshake.
Optional add-ins for an exciting twist
Feeling adventurous? There are plenty of optional add-ins that can elevate your milkshake experience:
- Chocolate syrup: For a chocolatey flavor boost.
- Berries or peach slices: Fresh or frozen, they add a fruity touch.
- Peanut butter or cookie dough: For those who love a rich and indulgent treat.
Experimenting with your vanilla milkshake can lead to delightful surprises. Plus, it’s a fun way to involve family or friends in the kitchen! Consider checking out Recipes from Taste of Home for more inspiration on flavor combinations!
Step-by-step Preparation of Vanilla Milkshakes
Creating a delicious vanilla milkshake at home is not only easy but also an enjoyable experience. Whether you're whipping up a quick treat for yourself or looking to impress your friends, this step-by-step guide will get you there in no time!
Gather your ingredients
Before diving into the blending action, it’s essential to gather all your ingredients. This preparation step not only makes the process smoother but also ensures you won’t forget anything crucial. Here’s what you’ll need for a delightful vanilla milkshake:
- 2 cups vanilla ice cream
- 1 cup whole milk
- 1 teaspoon vanilla extract
Feel free to explore variations by including mix-ins like chocolate syrup, fruits, or spices!
Measure and prep for blending
Now that you’ve got everything at hand, it's time to measure your ingredients. Accuracy is key, especially when it comes to achieving that creamy texture you crave. Start by scooping the vanilla ice cream into a measuring cup. You want the ice cream to be slightly softened, making it easier to blend. Next, pour the milk and add the vanilla extract. You can use any type of milk you prefer, but whole milk will give you the richest flavor and creaminess.
Blend until smooth and creamy
All your ingredients are in the pitcher, and now it’s time for the magic to happen! Secure the lid on your blender and blend everything on high speed. You’ll want to keep an eye on it—first, pulse for a few seconds and then blend continuously until it reaches a smooth and creamy consistency. The key is to blend just enough so that air incorporates into the mixture without melting it into liquid. If you enjoy a thicker consistency, feel free to add a bit more ice cream!
Pour and savor the goodness
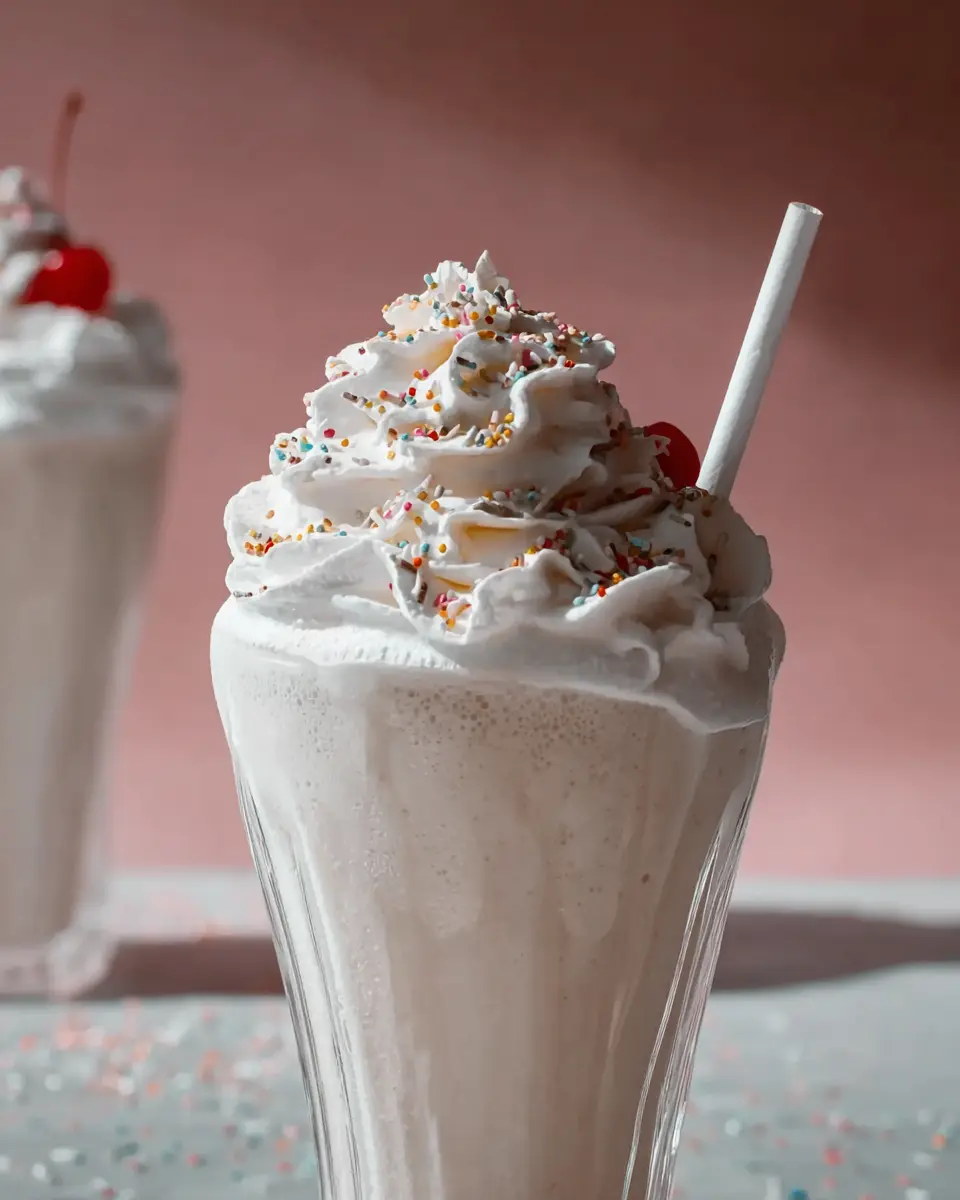
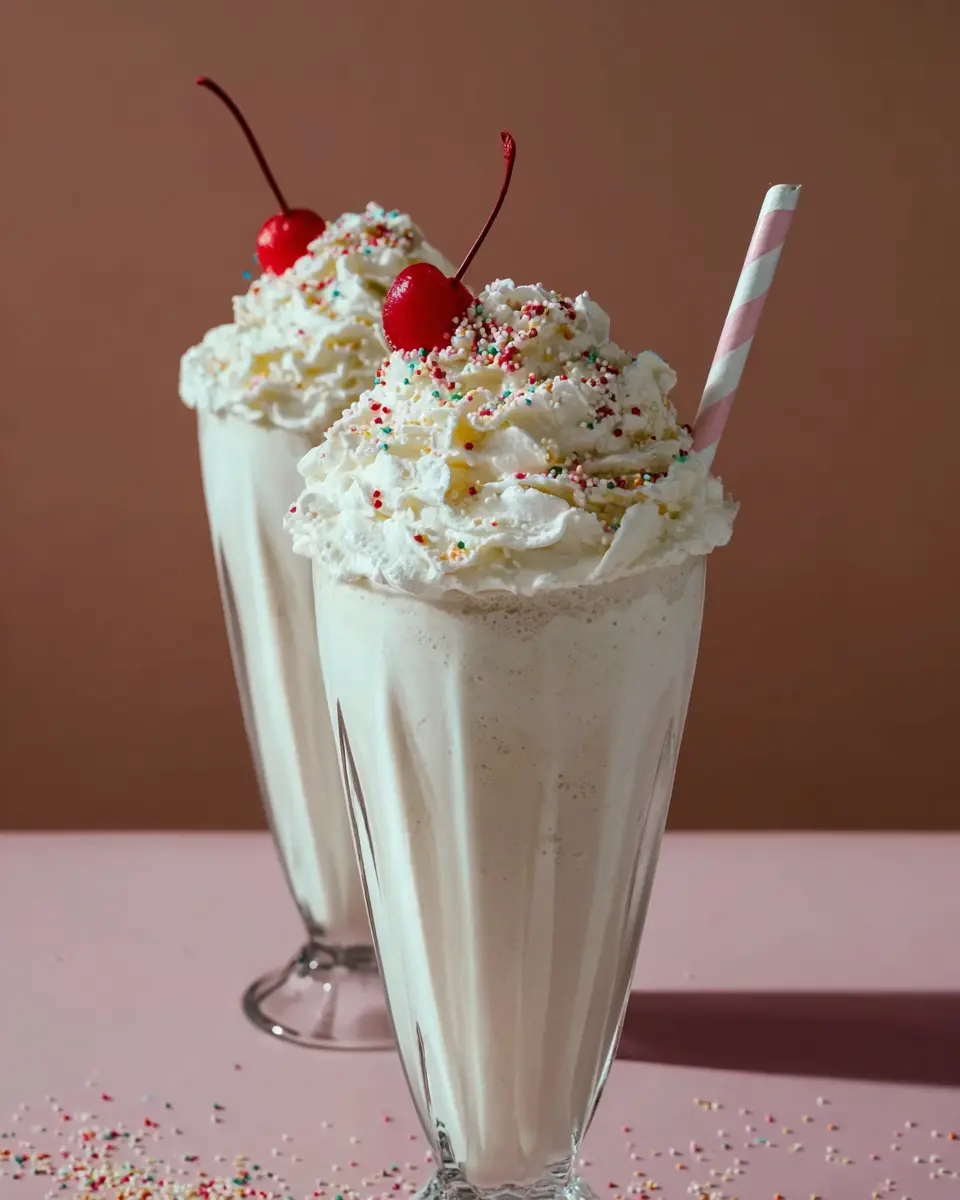
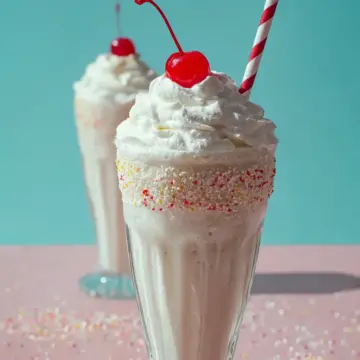
Once your vanilla milkshake looks perfectly blended, it’s time for the fun part! Gently pour the milkshake into tall, chilled glasses. For a gourmet touch, you can garnish with whipped cream or drizzle chocolate syrup on top. Grab a straw or a long spoon and dive into your creation. Trust me; the creamy goodness will have you savoring every sip!
Clean up for a stress-free experience
After indulging in your delicious vanilla milkshake, it’s important to clean up promptly. Rinse your blender right away to avoid the ice cream hardening, which makes for a tougher cleanup later. A simple wash with warm, soapy water will suffice. If you're short on time, you can even throw it in the dishwasher. Tidying up now means you’ll get to enjoy more milkshakes in the future without the stress of lingering mess.
Now that you know how to prepare a delightful vanilla milkshake, what’s stopping you? Get blending today, and don’t forget to try various flavors that reflect your taste!
Variations on Vanilla Milkshakes
A vanilla milkshake serves as a perfect base for creative twists! Let’s explore some delightful variations to elevate your milkshake game.
Chocolate Vanilla Milkshake
For chocolate lovers, this is a dream come true! Simply add ¼ cup of chocolate syrup to your vanilla milkshake before blending. You can also use chocolate ice cream for a richer flavor. This blend offers both creamy vanilla and rich chocolate in every sip.
Berry-Infused Vanilla Milkshake
Looking for a fruity twist? Toss in a cup of mixed berries such as strawberries, blueberries, or raspberries. Blend until smooth for a burst of berry goodness that complements the classic vanilla flavor beautifully. Plus, berries are packed with antioxidants!
Tropical Vanilla Milkshake with Peaches
Craving something tropical? Add 1 cup of fresh or frozen peaches to your vanilla milkshake for a refreshing treat. This combination brings the sunshine straight to your glass, combining sweetness with a hint of tartness.
With these variations, your vanilla milkshake can transform into a new favorite treat anytime!
Cooking Tips and Notes for Vanilla Milkshakes
Choosing the Right Ice Cream
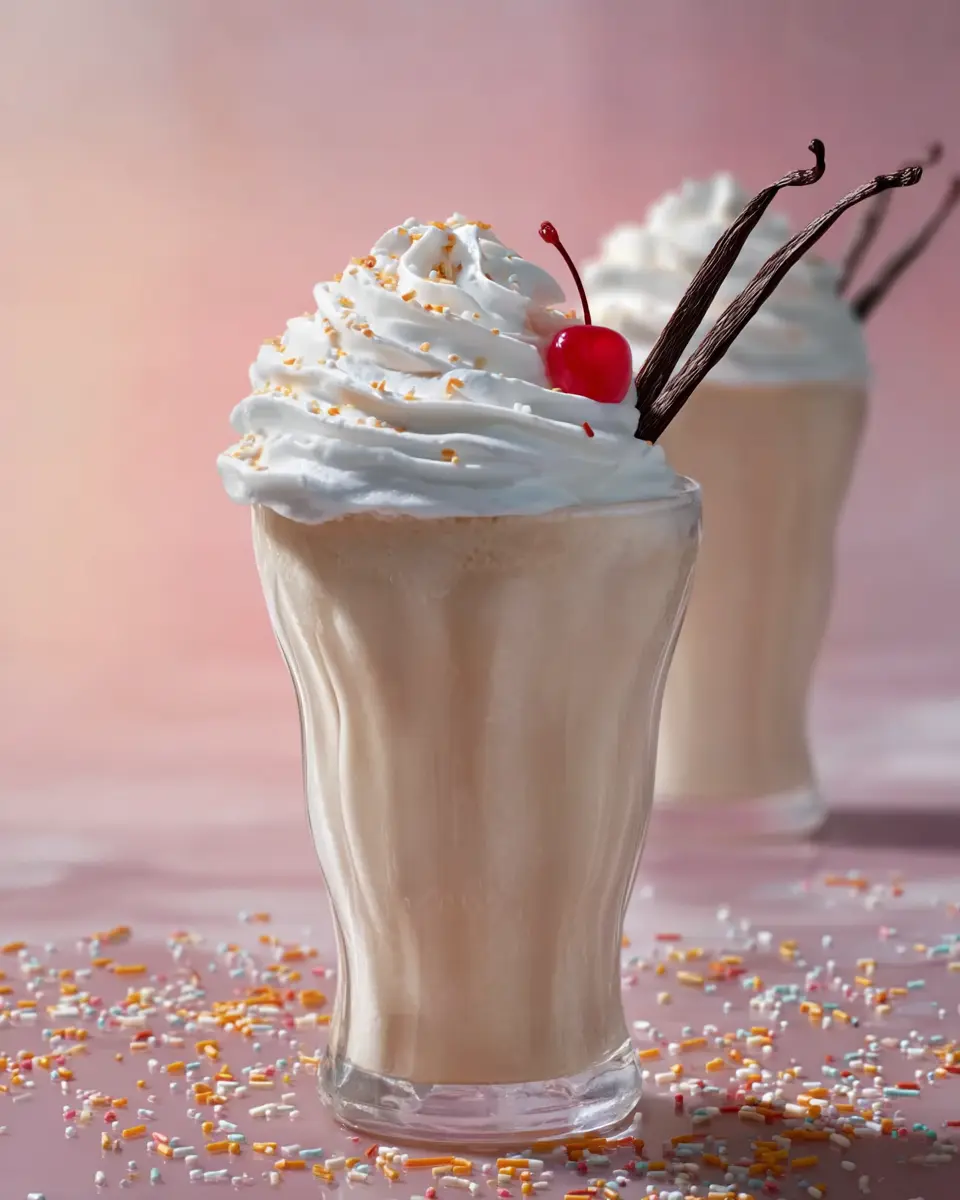
The foundation of a vanilla milkshake lies in using high-quality ice cream. Aim for a rich, creamy vanilla ice cream that contains real vanilla beans for depth of flavor. Brands like Haagen-Dazs or Ben & Jerry's often hit the mark, but feel free to explore local artisan options to elevate your shake experience.
Blender Tips for the Perfect Consistency
To achieve that dreamy, thick consistency, start by blending your ice cream and milk at a low speed. If you find it too thick, gradually add milk, which can help you customize the texture. Remember, blending too long can turn your shake into a smoothie, so keep an eye on it! For more tips, check out resources like The Kitchn for in-depth blending techniques.
With these tips, your vanilla milkshake is bound to impress family and friends!
Serving Suggestions for Vanilla Milkshakes
Fun Glassware Ideas
Choosing the right glassware can take your vanilla milkshake from ordinary to extraordinary. Consider serving your shakes in retro milkshake glasses for a nostalgic vibe, or go for mason jars for a rustic twist. If you're feeling adventurous, use colorful plastic cups or stylish stemless wine glasses to add a fun flair. You could even try layered presentations to show off any added flavors or toppings!
Toppings to Elevate Your Milkshake Experience
The magic truly begins when you start piling on the toppings! Here are some delicious ideas to elevate your vanilla milkshake:
- Whipped cream: A classic must-have for that fluffy topping experience.
- Chocolate syrup or caramel sauce: Drizzle it generously for added sweetness.
- Crushed cookies: Oreos or graham crackers add crunch and flavor.
- Fresh fruit: Strawberries, bananas, or cherries can brighten up the shake.
- Nuts: Chopped almonds or pecans give a nice crunch and boost of protein.
These simple additions can transform your vanilla milkshake into a delightful treat everyone will love!
Time Breakdown for Vanilla Milkshakes
When you're craving a delightful vanilla milkshake, knowing how long it takes to whip one up can make the idea even more appealing. Here’s a quick breakdown:
Preparation Time
Enjoy the simplicity — you’ll only need 5 minutes to gather your ingredients and blend them into creamy perfection.
Total Time
From start to finish, your delicious vanilla milkshake will be ready in just 5 minutes. That means you’ll be sipping on that sweetness in no time!
If you're curious about why homemade milkshakes are great, check out this informative guide on the benefits of making your own treats.
Nutritional Facts for Vanilla Milkshakes
Understanding the nutrition behind your delicious vanilla milkshake can help you enjoy it mindfully. Let's break down the key components:
Calories
A single serving of this creamy treat comes in at approximately 345 calories. It’s a satisfying indulgence that can fit into a balanced diet.
Protein
For those looking to add some protein to your sweet treat, a vanilla milkshake provides about 9 grams. This little boost can help keep you feeling fuller longer, especially if you're enjoying it as a snack.
Sodium
Keep in mind that the sodium content is around 155 mg per serving. While it's not excessively high, be conscious of your overall dietary intake, especially if you're monitoring your salt consumption.
If you're curious about how various ingredients can affect the nutrition profile, check out resources from the USDA here or other dietary guides that delve deeper into how ingredients like ice cream and milk contribute to your nutrition. Enjoy your rich and creamy vanilla milkshake while keeping these facts in mind!
FAQ about Vanilla Milkshakes
Can I make a dairy-free vanilla milkshake?
Absolutely! Making a dairy-free vanilla milkshake is simple. Swap out whole milk for plant-based alternatives like almond, soy, or oat milk. You can also use dairy-free ice cream. Coconut milk ice cream, in particular, adds a delicious creaminess. This way, you can enjoy that delightful vanilla flavor without dairy!
How do I store leftover milkshake?
If you happen to have any leftovers, store your vanilla milkshake in an airtight container in the freezer. It’s best enjoyed fresh, but you can keep it for up to two days. When you're ready to drink it again, just blend it briefly to regain its creamy texture.
What’s the best way to enhance flavor in my milkshake?
To elevate the flavor profile of your vanilla milkshake, consider adding ingredients like caramel sauce, chocolate syrup, or fresh fruit. A pinch of cinnamon or a scoop of peanut butter can also work wonders! Experimenting with flavors keeps your milkshake game exciting.
For more idea-rich recipes, consider checking out Food Network or AllRecipes.
Conclusion on Vanilla Milkshakes
The joy of homemade vanilla milkshakes
There's something truly special about crafting your own vanilla milkshake at home. Not only is it quick and indulgent, but it also opens up a world of flavor possibilities. Experiment with mix-ins or let the kids create their own variations for a fun, family-friendly treat!
Vanilla Milkshake
Equipment
- Blender
Ingredients
Ice Cream and Milk
- 2 cups vanilla ice cream
- 1 cup whole milk
- 1 teaspoon vanilla extract
Instructions
Preparation
- Gather all ingredients.
- Blend ice cream, milk, and vanilla extract together in a blender until smooth.
- Pour into glasses and serve.
Leave a Reply